Pulley Islands
Third graders conquer a tinkering challenge

The Next Generation Science Standards (NGSS) define engineering as an open-ended, systematic process of defining problems and finding solutions. The practices of engineering involve both making (constructing) and tinkering (creative problem solving) (Vossoughi and Bevan 2014). Tinkering can be defined as a playful approach to problem solving rooted in direct experience and experimentation (Martinez and Stager 2013). Breakthroughs in physics, biology, and chemistry often draw on the experiences of tinkerers, artisans, and craftspeople (Conner 2005). Tinkering allows students to investigate the physical world and build skills that can provide a springboard to engage in more formal construction and engineering.
This article describes a lesson rooted in tinkering, an approach to learning that encourages the use of authentic, hands-on experience to develop an understanding of content and physical materials. There were several desired outcomes for this lesson. First, we felt that tinkering was an appropriate approach to investigating the disciplinary core idea (DCI) for balanced and unbalanced forces while at the same time exploring common tools. Second, we wanted to engage students with an imaginative design task that featured open-ended inquiry. Third, we wanted to create a learning experience that would help students see themselves as real-life problem solvers while addressing core science content.
The lesson was designed as part of a third-grade unit on forces and motion and uses materials from a Levers and Pulleys kit produced by Delta Education. Since the removal of simple machines as an explicit NGSS topic, this kit can often be found unused in school closets even though it is a favorite with many elementary teachers and contains a variety of useful materials. Thus, this lesson represents a creative use for the under-utilized resources in this popular kit. The lesson is designed to take approximately 120 minutes and can be completed as a whole segment or spread over multiple class periods.
Engage: Introducing Tools and Materials (25 min)
Because many physical science concepts can remain abstract when taught outside of real-world contexts, this lesson starts by inviting students to discuss everyday tools. Students are paired up and asked to engage in a think-pair-share to identify examples of tools in the classroom and to explain how these tools perform their jobs. For example, one student mentioned a clock as a tool for keeping time while another pointed to a pair of scissors and explained that they were used to cut things into small pieces. Once students discuss their ideas, the materials in the Levers and Pulleys kit are introduced. Each student is given a single pulley with rope and time for independent exploration. During this time, teachers observe and make note of how students are using the pulleys. This is also a time to provide students with an overview of pulley systems. This overview can be kept brief because students will be exploring these concepts in more depth in the upcoming lesson stages.
Explore: Pulley Islands (40 minutes)
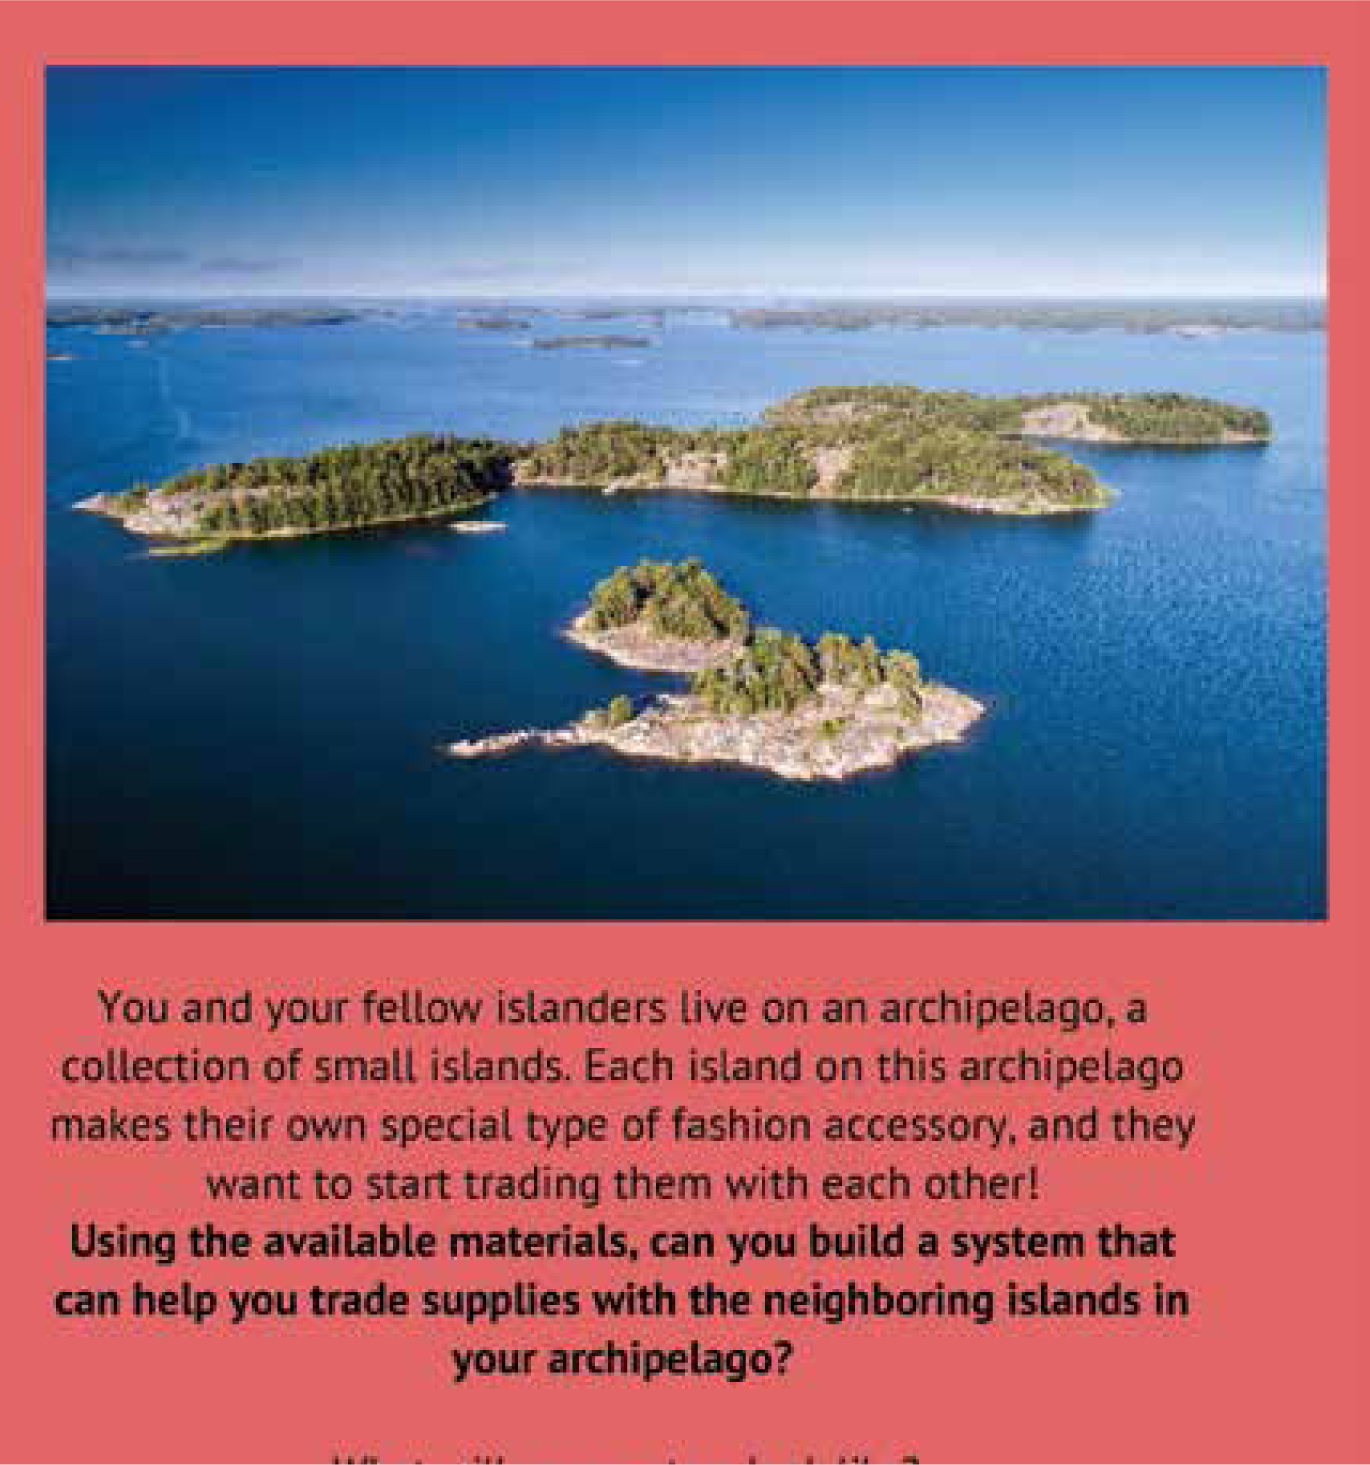
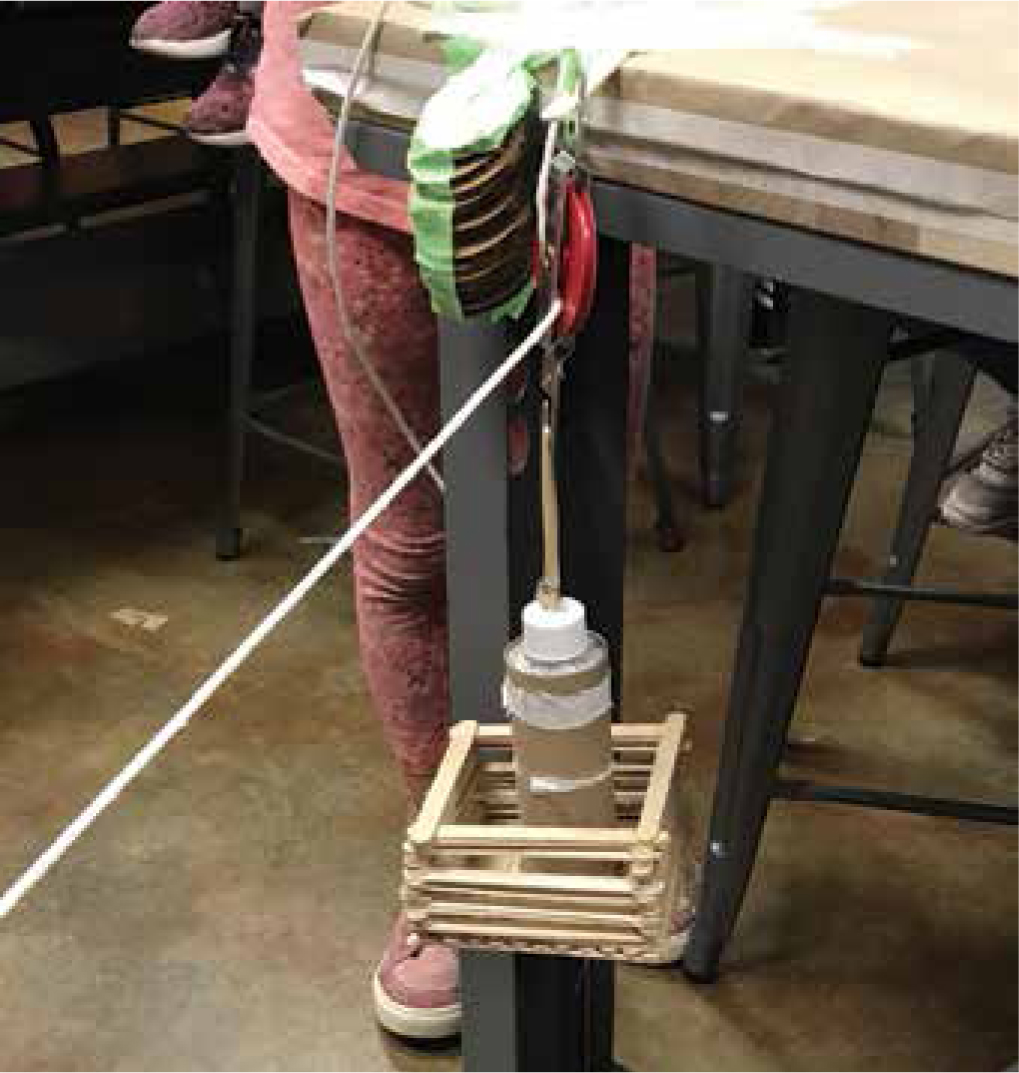
Next, students are divided into groups and assigned to “pulley islands” around the classroom. The islands are made up of clusters of three to four student desks pushed together at different locations in the room. The lesson challenge is to experiment with different pulley systems and their applications in everyday life. Once in groups, each team is given a Pulley Islands Challenge Card (see Figure 1) that provides background information about their island and the problem they need to solve. Prompts include challenges to: transport islanders from the shore of the island up to the top, help islanders cross a body of water, trade with other islands, and protect a food supply. In addition, students are provided with diagrams of fixed and moveable pulley systems from the kit’s instructional materials for reference.
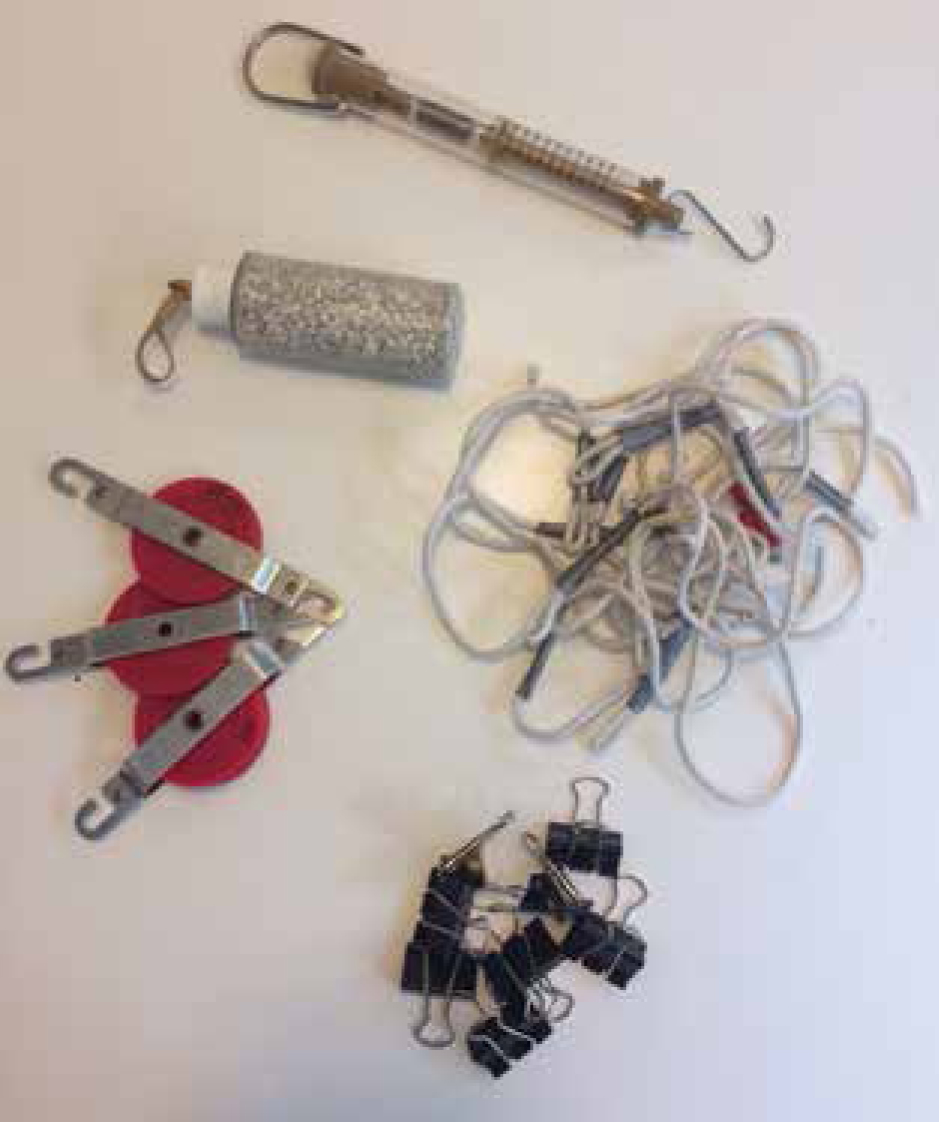
Before passing out materials, students are encouraged to read through the prompt and communicate with one another about their challenge and design ideas. Check for understanding of the task by asking questions like: “What does your card say? What problem are you trying to solve? What might you build?” Once student understanding of the directions has been established, each group is then provided with materials from the kit including: several lengths of rope, three pulleys, one spring scale, a 240 g load, and binder clips (see Figure 2, p. 30). Students also have access to common classroom supplies such as tape and craft sticks, as well as upcycled materials, like egg cartons and cardboard tubes, which they can use to customize their system. At this time, teachers review expectations for working with these materials safely. Students are instructed to use the tools for their intended purposes only, to let the instructor know about broken or damaged materials, and to ask for help with any items that they are unsure how to use. In addition, students are given safety goggles for eye protection during construction and testing. To support participation, students are assigned roles adapted from an MIT engineering challenge course (see Table 1). Students have time to create, test, and refine their pulley systems. Students are prompted to try out multiple iterations before settling on a configuration.
| Table 1: Roles for tinkering teams. | ||||||||||
|---|---|---|---|---|---|---|---|---|---|---|
|
During the exploration, students can spend a lot of time figuring out how to make the rope move on the pulley. This presents an opportunity to discuss the differences between balanced and unbalanced forces as well as the strength and direction of the force. Since a pulley is a grooved wheel with a rope that moves when acted on by unbalanced forces, students can try applying different forces to each side of the pulley to observe what happens. For example, what happens when a student pulling on the rope on one side of a fixed pulley applies more force than a student pulling on the other side? What if both students pull equally hard? The Exploring Forces Chart (Table 2, p. 31) can be useful for defining terms and supporting student investigation of these concepts. Introducing terms in the context of a hands-on challenge helps students make sense of new vocabulary and gives them a context for using these words in conversations with instructors and other students. For example, a student might mention that a pulley is not moving because the force on each side is the same. The instructor could then ask if this is an example of a balanced or unbalanced force. Questions like this can support a deeper understanding of the terminology as students think through and discuss adjustments to their design. Some additional questions to ask during the exploration include: “How does your system work? What is causing your pulley to move? What other ideas do you have for this design?” Checking in with each group frequently and giving regular time markers helps students stay on task.
| Table 2: Pulley Islands–Exploring Forces Chart. | ||||||||||||||||||
|---|---|---|---|---|---|---|---|---|---|---|---|---|---|---|---|---|---|---|
|
Explain: Presenting Work (20 minutes)
At the end of the exploration, groups share their systems with the other island teams.
Representatives from each group are randomly chosen to speak about their challenge and pulley design. In this conversation, the scientific concepts as well as the fundamentals of tinkering are highlighted. Questions focus on descriptions of the pulley system, the building process, and successes and failures. Some specific questions to ask include: “How did you address your challenge? Where are the forces applied in this system? How did you apply the concept of unbalanced forces to get your pulley to move? What did not go as planned? What was it like working as a team?” To keep the audience active, students use science journals to record similarities and differences between their own process and product and that of the presentation group. For instance, a group that built a zipline to move from one island to another might talk about how they had not thought about gravity and had to change the height of where their zipline ended to get it to work. Students in the audience can then be asked to think about how gravity played a role in their own designs.
Elaborate: Visiting Other Islands (20 minutes)
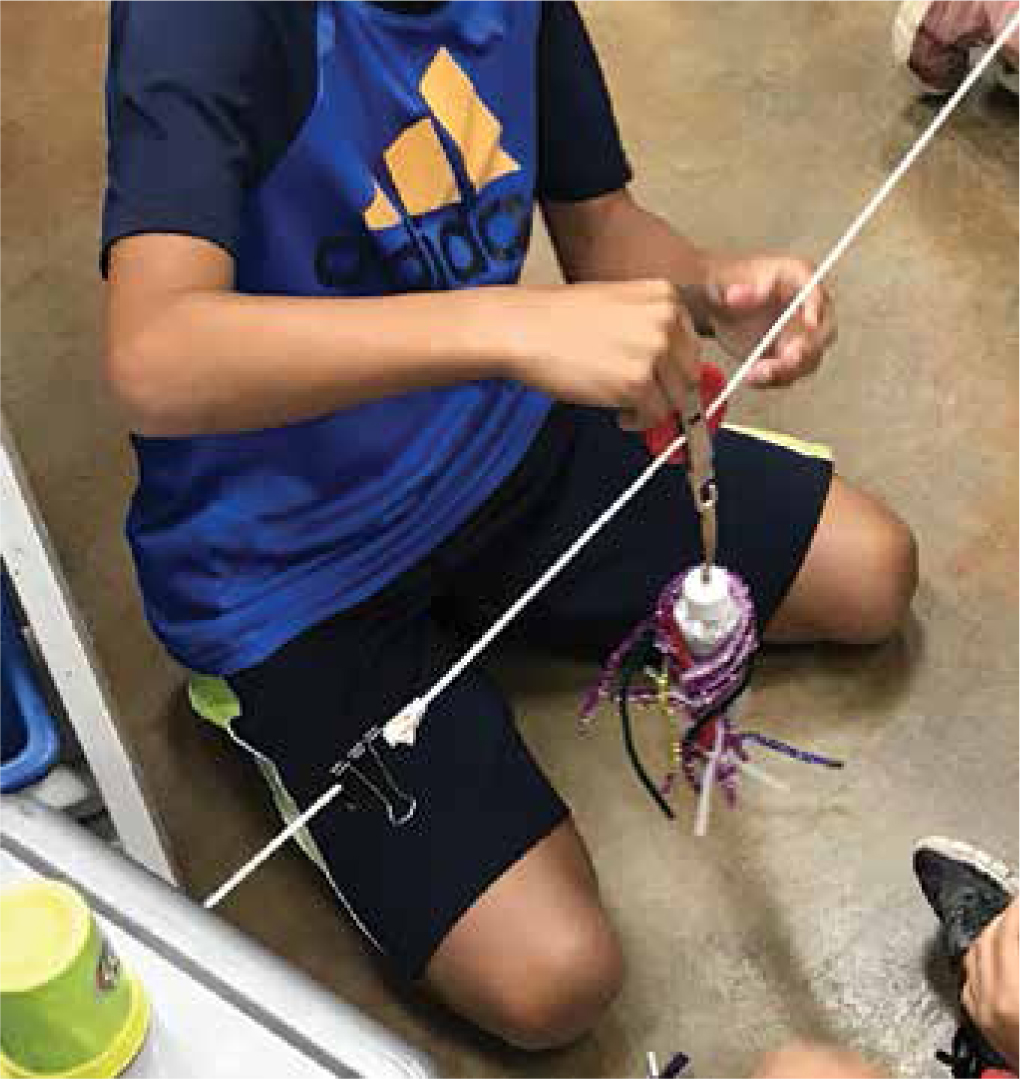
Once each team has spoken about their pulleys, students are given open-ended time to move to another group to test out and play with their systems. Students are asked to write down observations from their visits and pose questions to the other group. Typical student questions to the other group might be “How does this work?” “What would happen if …?” and “How do I …?” During this time, the instructor circulates, plays, and interacts with groups to help support conversations. After 10 minutes, students return to their own islands to share their observations and consider modifications to their own designs based on ideas gained through their visits.
Evaluate: Reflection and Connection (Throughout and 15 minutes at the end of the lesson)
The wonderful thing about a tinkering activity is that, since it is student centered, it allows the teacher to act as a facilitator and assess students throughout the activity. The lesson aims to support students in their creative process and also helps them attend to their understanding of disciplinary core ideas. To this end, we developed an assessment tool that combines both of these elements (see NSTA Connection). By adding NGSS features to a Learning Dimensions Framework published by the Tinkering Studio, we created an evaluation tool to use when circulating and visiting with groups. This form can be used to document student progress during all lesson phases. Teachers may also choose to add a summative assessment. A sample summative quiz is included online (see NSTA Connection).
At the end of the lesson, students can also spend time discussing how tools, like pulleys, can make things easier to move by reducing the force needed to push or pull an object. For example, one student might mention how, like scissors, pulleys are tools that make our tasks faster and more precise. Another student might mention how they felt badly when their pulley did not work the first few times but that they were happy at the end when it finally worked. Having students respond to questions—“How does an understanding of tools help us solve problems in everyday life? What are some things that you learned through tinkering? What was one challenging and one successful part of this experience for you?”—can help students establish a personal connection to the activity and reflect on their own learning process.
Discussion
Tinkering is a process involving imagination, problem solving, and the exploration of physical materials. While students in this activity may work quickly to build a design from the challenge on their card and might claim they are “done” when they have made a pulley move, challenges of this kind never really end. There is always room to improve on a system’s concept, or opportunity to expand on an initial challenge by adding a new problem needing to be solved. Students are most engaged in this lesson when an educator encourages them to dig deeper and think through each facet of their system. By asking a few open-ended questions specific to their project, students will enjoy the challenge of working together to refine their system.
Tinkering challenges also have great potential for engaging special needs students. Members of the NSTA Special Needs Advisory Board suggest that learning through a hands-on investigation can motivate special needs students (Blumenfeld and Sotello 2017). While all learners enjoy being creative and engaging with invention, some modifications for students with special needs may be helpful. Suggested adjustments for this lesson include breaking the design challenge into small tasks, giving additional work time, and providing one-on-one guidance as needed.
The open-ended nature of this lesson allows educators to be responsive in how they present, or tailor activities of this type for their classroom. If students are filled with imagination and enjoy stories, the teacher might include a literary connection such as a chapter about the home from Swiss Family Robinson, a review of contraptions from the world of Harry Potter, or drama-based games to play. If students thrive on real-world examples, add flashcards of equipment or machines that use pulleys in real life, or further expand on this lesson by finding a place in the school that could benefit from the use of a pulley system. For example, the class might go on to make a system to lift and lower a nearby bird feeder. This lesson also provides an opportunity to connect with history. Exploring the contributions of inventors of the past, indigenous cultures, and modern innovators can show the impact that creative minds have had on advances in society. And since developing a lesson is also a design process, we encourage educators to play with the activity itself and find what works best for their students.
Through tinkering challenges, the materials in many left- behind science kits can continue to provide learning resources to address disciplinary core ideas and NGSS science and engineering practices. The central materials for this lesson were repurposed from a standard kit. Additional supplies were those readily available in the classroom or provided through upcycling at no cost. In this way, this lesson provides an affordable opportunity to try out these types of activities with students. For those interested in bringing design, construction, or engineering into the science classroom, tinkering can provide a low-risk entry point. Unlike engineering, where a specific artifact is created, tinkering is exploratory in nature, with an emphasis on playful experimentation, iteration, and discovery. By providing students time to tinker, we help them develop the 21st-century skills needed to address the complex challenges of the world, today and in the future.
5E Physical Science Elementary