
Science of golf: work, energy, power
By admin
Posted on 2013-07-02
 Welcome to the Science of Golf! NBC Learn has partnered with the United States Golf Association (USGA) and Chevron to bring you this video series highlighting the science, technology, engineering, and math behind the sport. And once again, NSTA has developed lesson plans to help you build on the videos as you carry out STEM initiatives in your middle- and high-school science courses.
Whether you’re a fan who follows Rory, Phil, Paula, and Suzann, a player yourself, or someone like my farmer father who says that hitting a little white ball around a pasture just doesn’t make much sense, the sport can bring STEM concepts to life for your students. Use the video Science of Golf: Work, Power, and Energy as a springboard for student investigations into these concepts. The lesson plan provides you with ideas and guidance on how to get started.
The videos are available cost-free on www.NBCLearn.com. NSTA will also highlight each video in the series in this blog over the next weeks, within the Videos and Lessons category, and we hope you will try them out in the classroom. When you do, please leave comments below each posting about how well the information worked in real-world classrooms. And if you had to make significant changes to a lesson, we’d love to see what you did differently, as well as why you made the changes. Leave a comment, and we’ll get in touch with you with submission information.
–Judy Elgin Jensen
Image of putt courtesy of Michelle Hofstrand.
Video
SOG: Work, Power, and Energy features professional golfer Suzann Pettersen and her putting prowess to show how work done on the ball changes energy from its potential to kinetic form.
STEM Lesson Plan—Adaptable for Grades 7–12
The lesson plan provides ideas for STEM exploration plus strategies to support students in their own quest for answers and as well as a more focused approach that helps all students participate in hands-on inquiry.
SOG: Work, Energy, and Power describes how students might investigate a question about how one might putt a golf ball and calculate energy gain or less and power delivered.
You can use the following form to e-mail us edited versions of the lesson plans: [contact-form 2 “ChemNow]
Welcome to the Science of Golf! NBC Learn has partnered with the United States Golf Association (USGA) and Chevron to bring you this video series highlighting the science, technology, engineering, and math behind the sport. And once again, NSTA has developed lesson plans to help you build on the videos as you carry out STEM initiatives in your middle- and high-school science courses.
Scientific argumentation
By Mary Bigelow
Posted on 2013-06-30
I’ve been reading NSTA’s K-12 journals for many years. This is the first time I can remember that all three have the same theme at the same time. The summer issue for each—Science & Children, Science Scope, and The Science Teacher have featured articles on scientific argumentation. Teachers at all grade levels can find articles with suggestions for incorporating scientific discourse and argumentation into lessons.
Unfortunately, many students (and adults) have misconceptions about the word argument. They see TV shows where arguing is the most common activity. People shout at and interrupt each other, spout ideas that may have little or no truth to them, ignore facts and evidence, and have little tolerance for different points of view or experiences.
But argumentation in science has a different meaning. “Engaging in argument from evidence” is one of the Science and Engineering Practices in the NGSS. As students engage in investigations, they develop claims and support them with evidence. They critique ideas, propose alternate explanations, and communicate their understandings.
The skills involved in argumentation have to be taught and modeled. I’m looking forward to reading articles in these issues with suggestions and real-life examples of what this kind of activity looks like and sounds like in K-12 classrooms.
As part of an NSTA membership, we have access to all three of these journals. With a common theme, teachers can see what the process looks like from kindergarten through grade 12. I’d encourage teachers to skim the contents of all three. Secondary teachers can see what younger students are capable of doing and find ideas that can be kicked up a notch or two for their own students, Elementary teachers can see how what they’re doing can fit with what older students do and identify activities to challenge their students.
As I head to the beach for the holiday week, I’ve packed my iPad with all three journals.
See also: Who Doesn’t Like a Good Argument?
I’ve been reading NSTA’s K-12 journals for many years. This is the first time I can remember that all three have the same theme at the same time. The summer issue for each—Science & Children, Science Scope, and The Science Teacher have featured articles on scientific argumentation. Teachers at all grade levels can find articles with suggestions for incorporating scientific discourse and argumentation into lessons.
Ask the students
By Mary Bigelow
Posted on 2013-06-29
 I’m trying to incorporate more inquiry activities into my fourth and fifth grade science classes. The students seem to enjoy them, and I can tell from talking to them and reviewing their notebook entries that they are learning content and skills. However , my principal has noted to me that students were off-task during his 10-minute walkthroughs. How should I respond? How can I tell if students are really on-task and engaged in the activities?
–Michael, Orlando, FL
You could ask your principal how he determined in a 10-minute visit that elementary students were off-task! In a busy science classroom, there will be many levels of activity that ebb and flow with the task itself, the time of day, the combinations of students, and other factors. The bottom line is that you have evidence they are learning from the activities. But before you approach him with your evidence, here are a few points to consider.
The writer Alfie Kohn suggests “When students are off task, our first response should be to ask, ‘What’s the task?’” It’s hard for fourth and fifth graders—or students at any other grade level—to sit still through class after class of worksheets, silent reading, death-by-PowerPoint lectures, or copying notes from the board without getting restless (just as it’s hard for their teachers to sit through similar activities at a meeting or workshop). Even videos or multimedia can become distracting or lose their ability to engage if students perceive them as time-fillers and don’t know how they relate to the learning goals. I could tell my seventh graders were not engaged when, after a few minutes at an assignment, the requests to use the restroom or get a drink or water began, along with “What time is this class over?” But when I structured the same activities as cooperative learning, provided a choice of activities, or when the activities required more student involvement, questioning, or creativity, the requests seldom appeared. Other positive signs were “Is the class over already? Can we continue tomorrow?” comment sat the end of the period.
However, with all due respect to Mr. Kohn, I think the first response to a student that appears to be off-task should be for you or your principal to ask the student “Hmm…What are you doing?” You might find out that what appeared to be an off-task behavior was very much on-task for that student.
I learned this from the experiences my siblings and I had in elementary school (and I can only imagine the phone calls my parents received). For example, during seatwork or a class discussion, I would gaze out of the window or stare into space. I wish teachers would have asked me what I was thinking about instead of telling me to stop daydreaming and pay attention or get back to work. I could have told them I was thinking about what was being said or visualizing the connections between the new information and what I already knew (and yes, once in a while I was lost in space and just needed a gentle reminder to come back to Earth). My brother was a socializer in school. He loved to talk and listen to people. Perhaps he and his friends were talking about unrelated topics, but some of their sidebar conversations may have been relevant to the class topic or consisted of more in-depth discussions. The teachers could have discovered this with a simple question instead of giving detentions or sending them to the office for talking in class. If teachers would have looked at or asked about my sister’s doodles instead of telling her to put her pencil down, they would have seen an artist at work, taking in the information and reformatting it graphically. (By the way, all three of us applied our dreaming, talking, and drawing to successful careers in science, business, teaching, and the arts.)
Your principal may even find that asking students to explain what is happening or what they’re doing can be helpful in other situations, including discipline referrals, as described in a recent blog.
Photo: http://www.flickr.com/photos/fontplaydotcom/504443770/
I’m trying to incorporate more inquiry activities into my fourth and fifth grade science classes. The students seem to enjoy them, and I can tell from talking to them and reviewing their notebook entries that they are learning content and skills. However , my principal has noted to me that students were off-task during his 10-minute walkthroughs. How should I respond? How can I tell if students are really on-task and engaged in the activities?
Summertime science investigations and International Mud Day
By Peggy Ashbrook
Posted on 2013-06-28
Many children investigate the natural world more fully in summer, building their understanding of natural materials and phenomena through small moments and large.
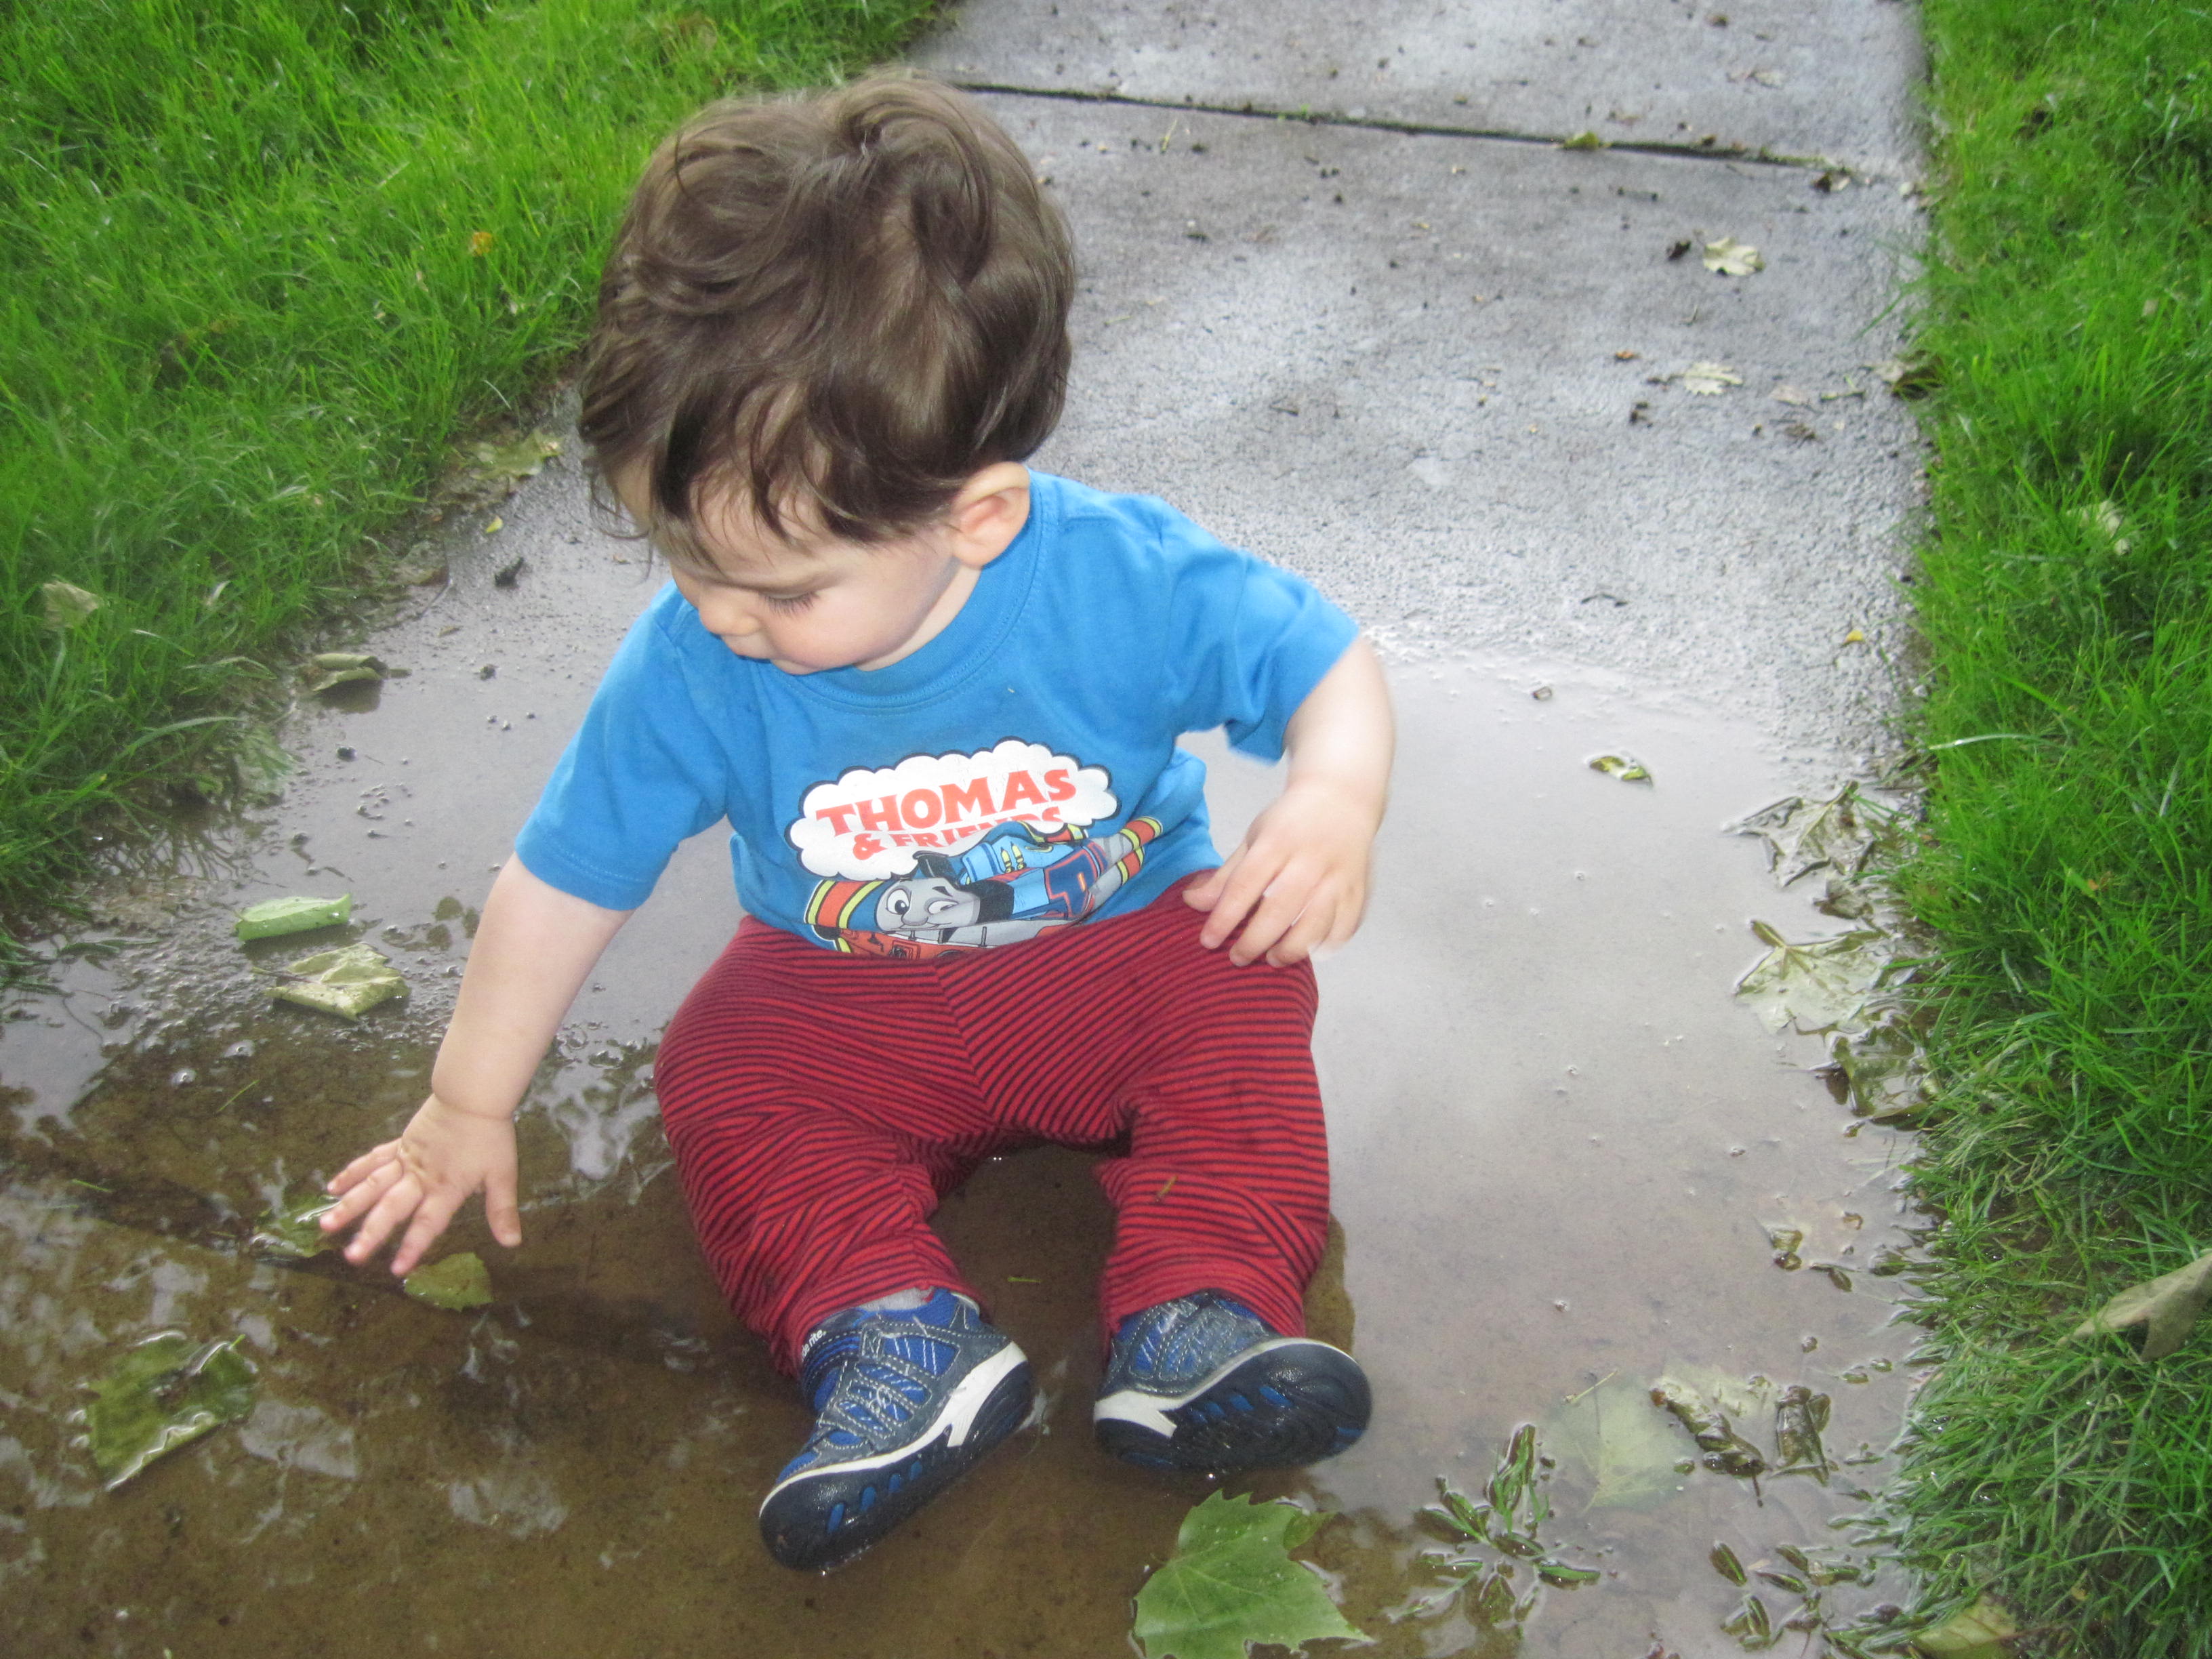
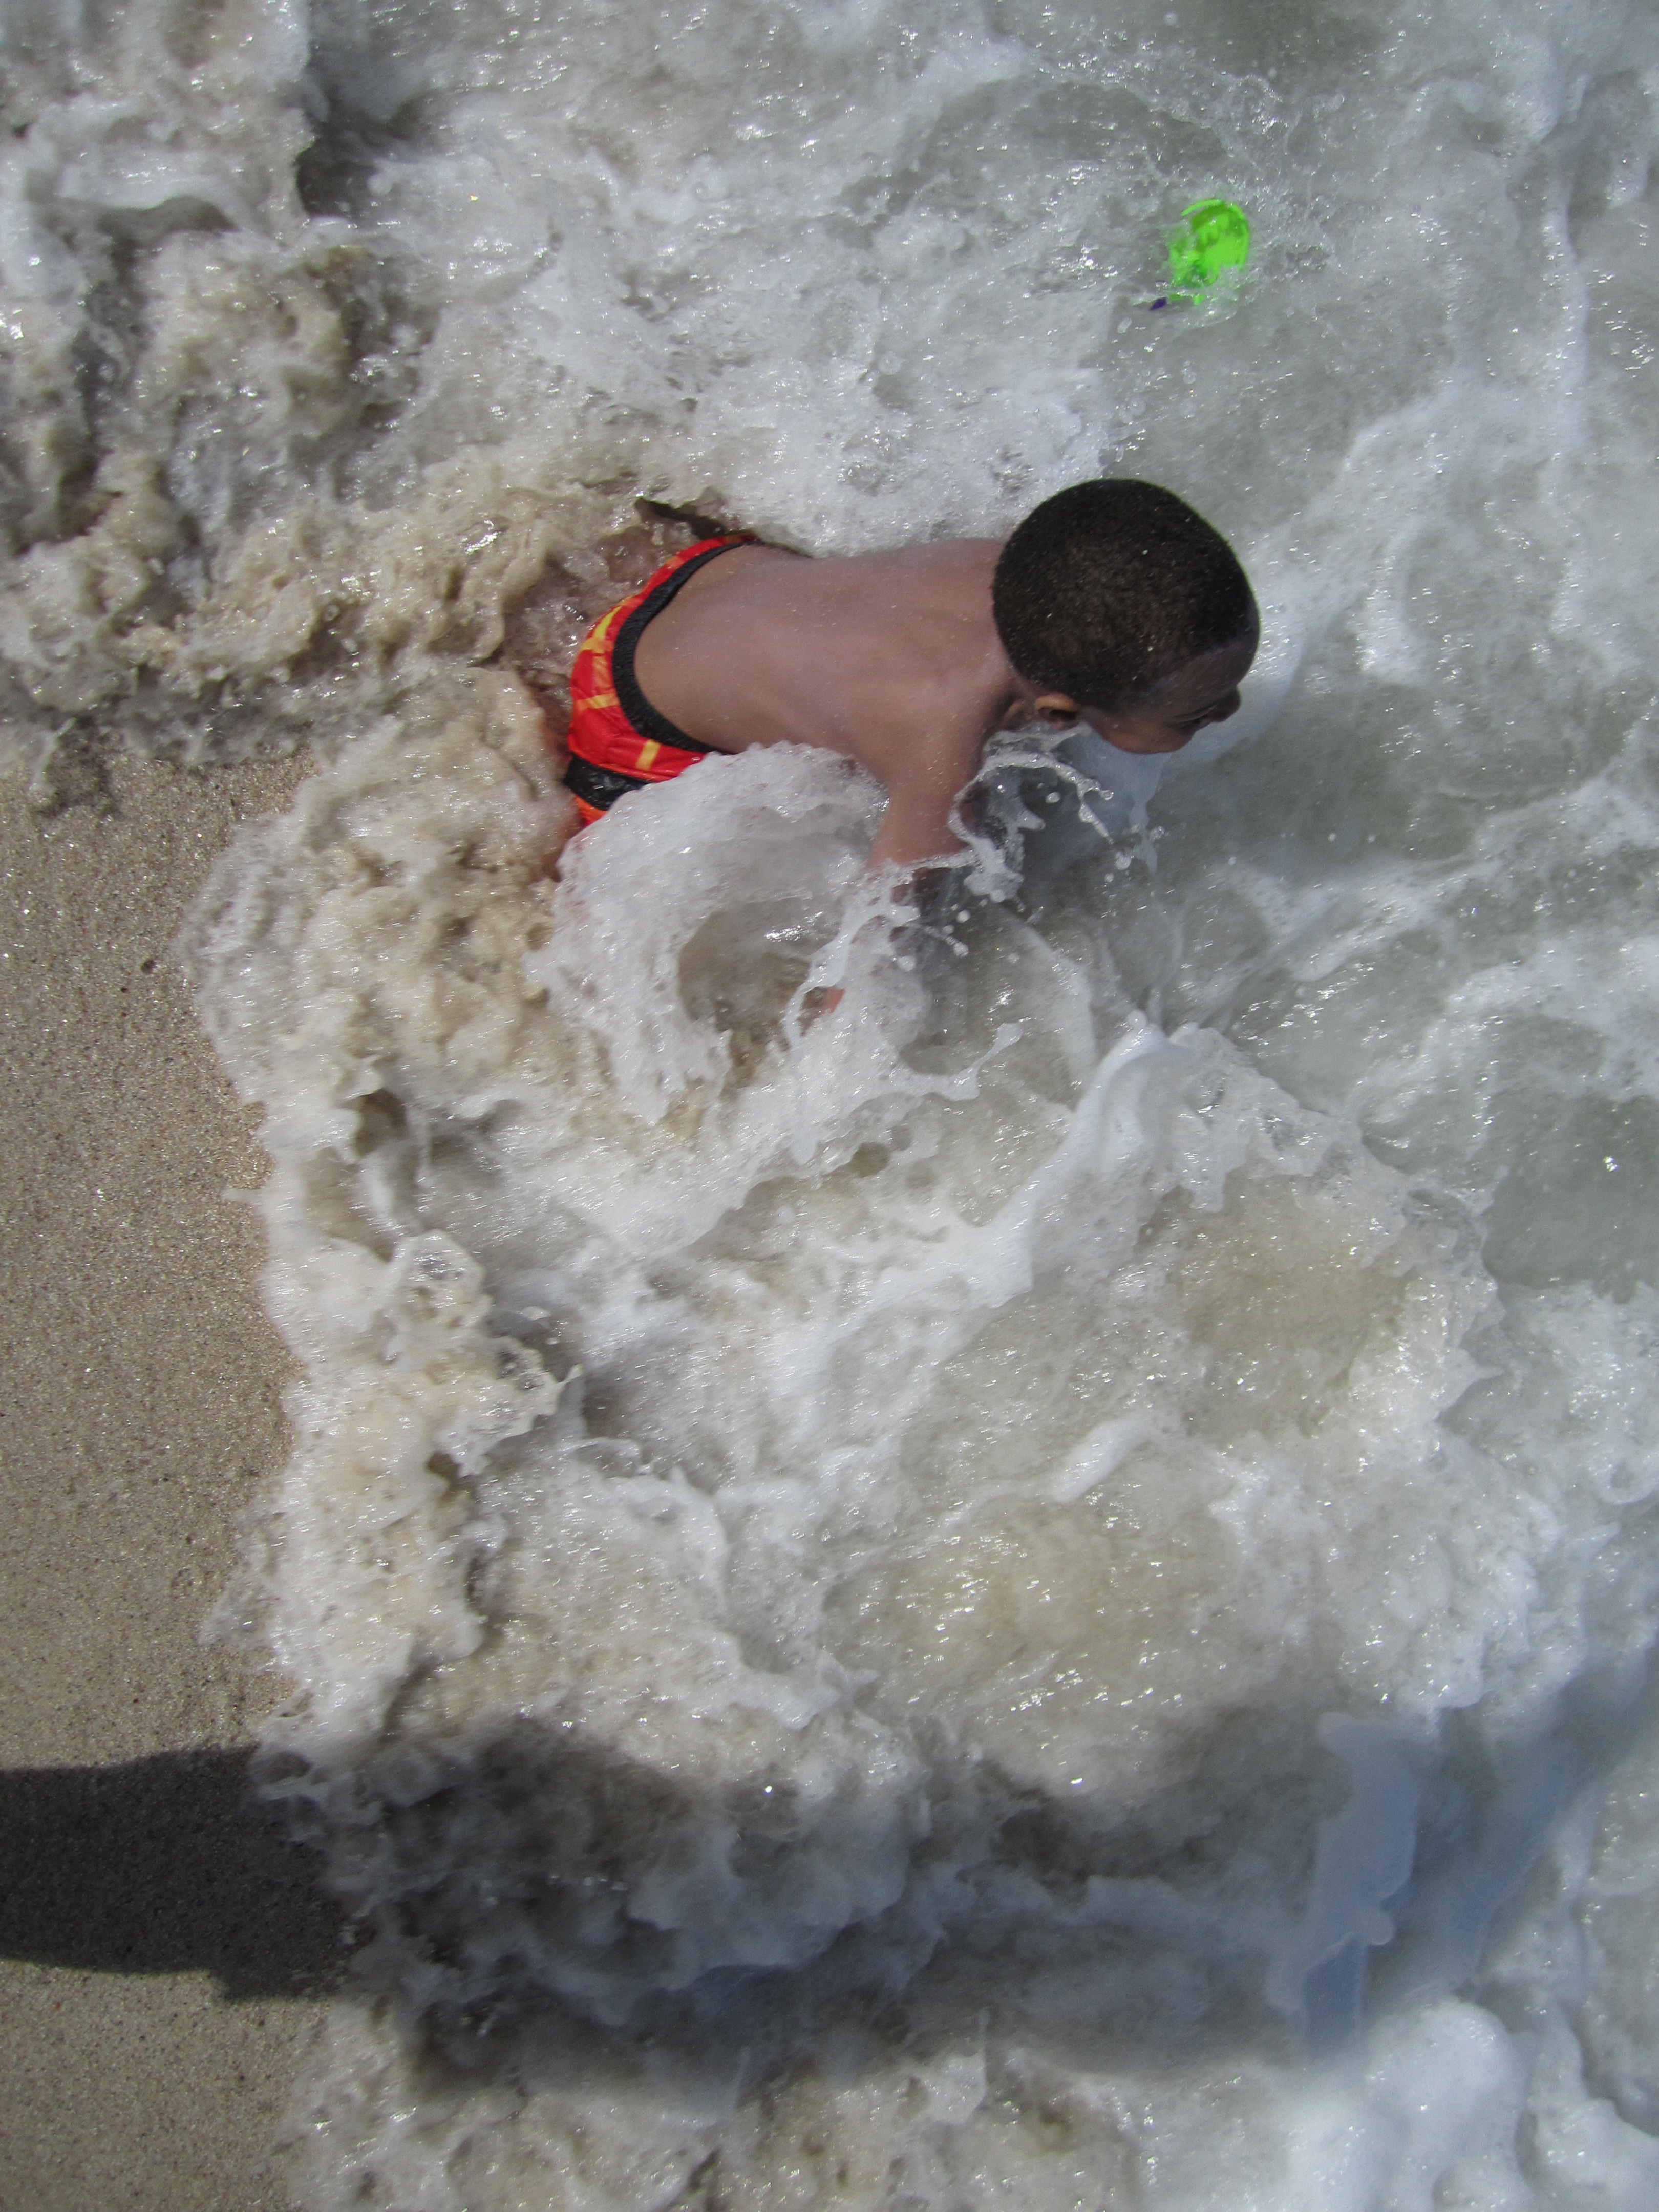 Jumping into water
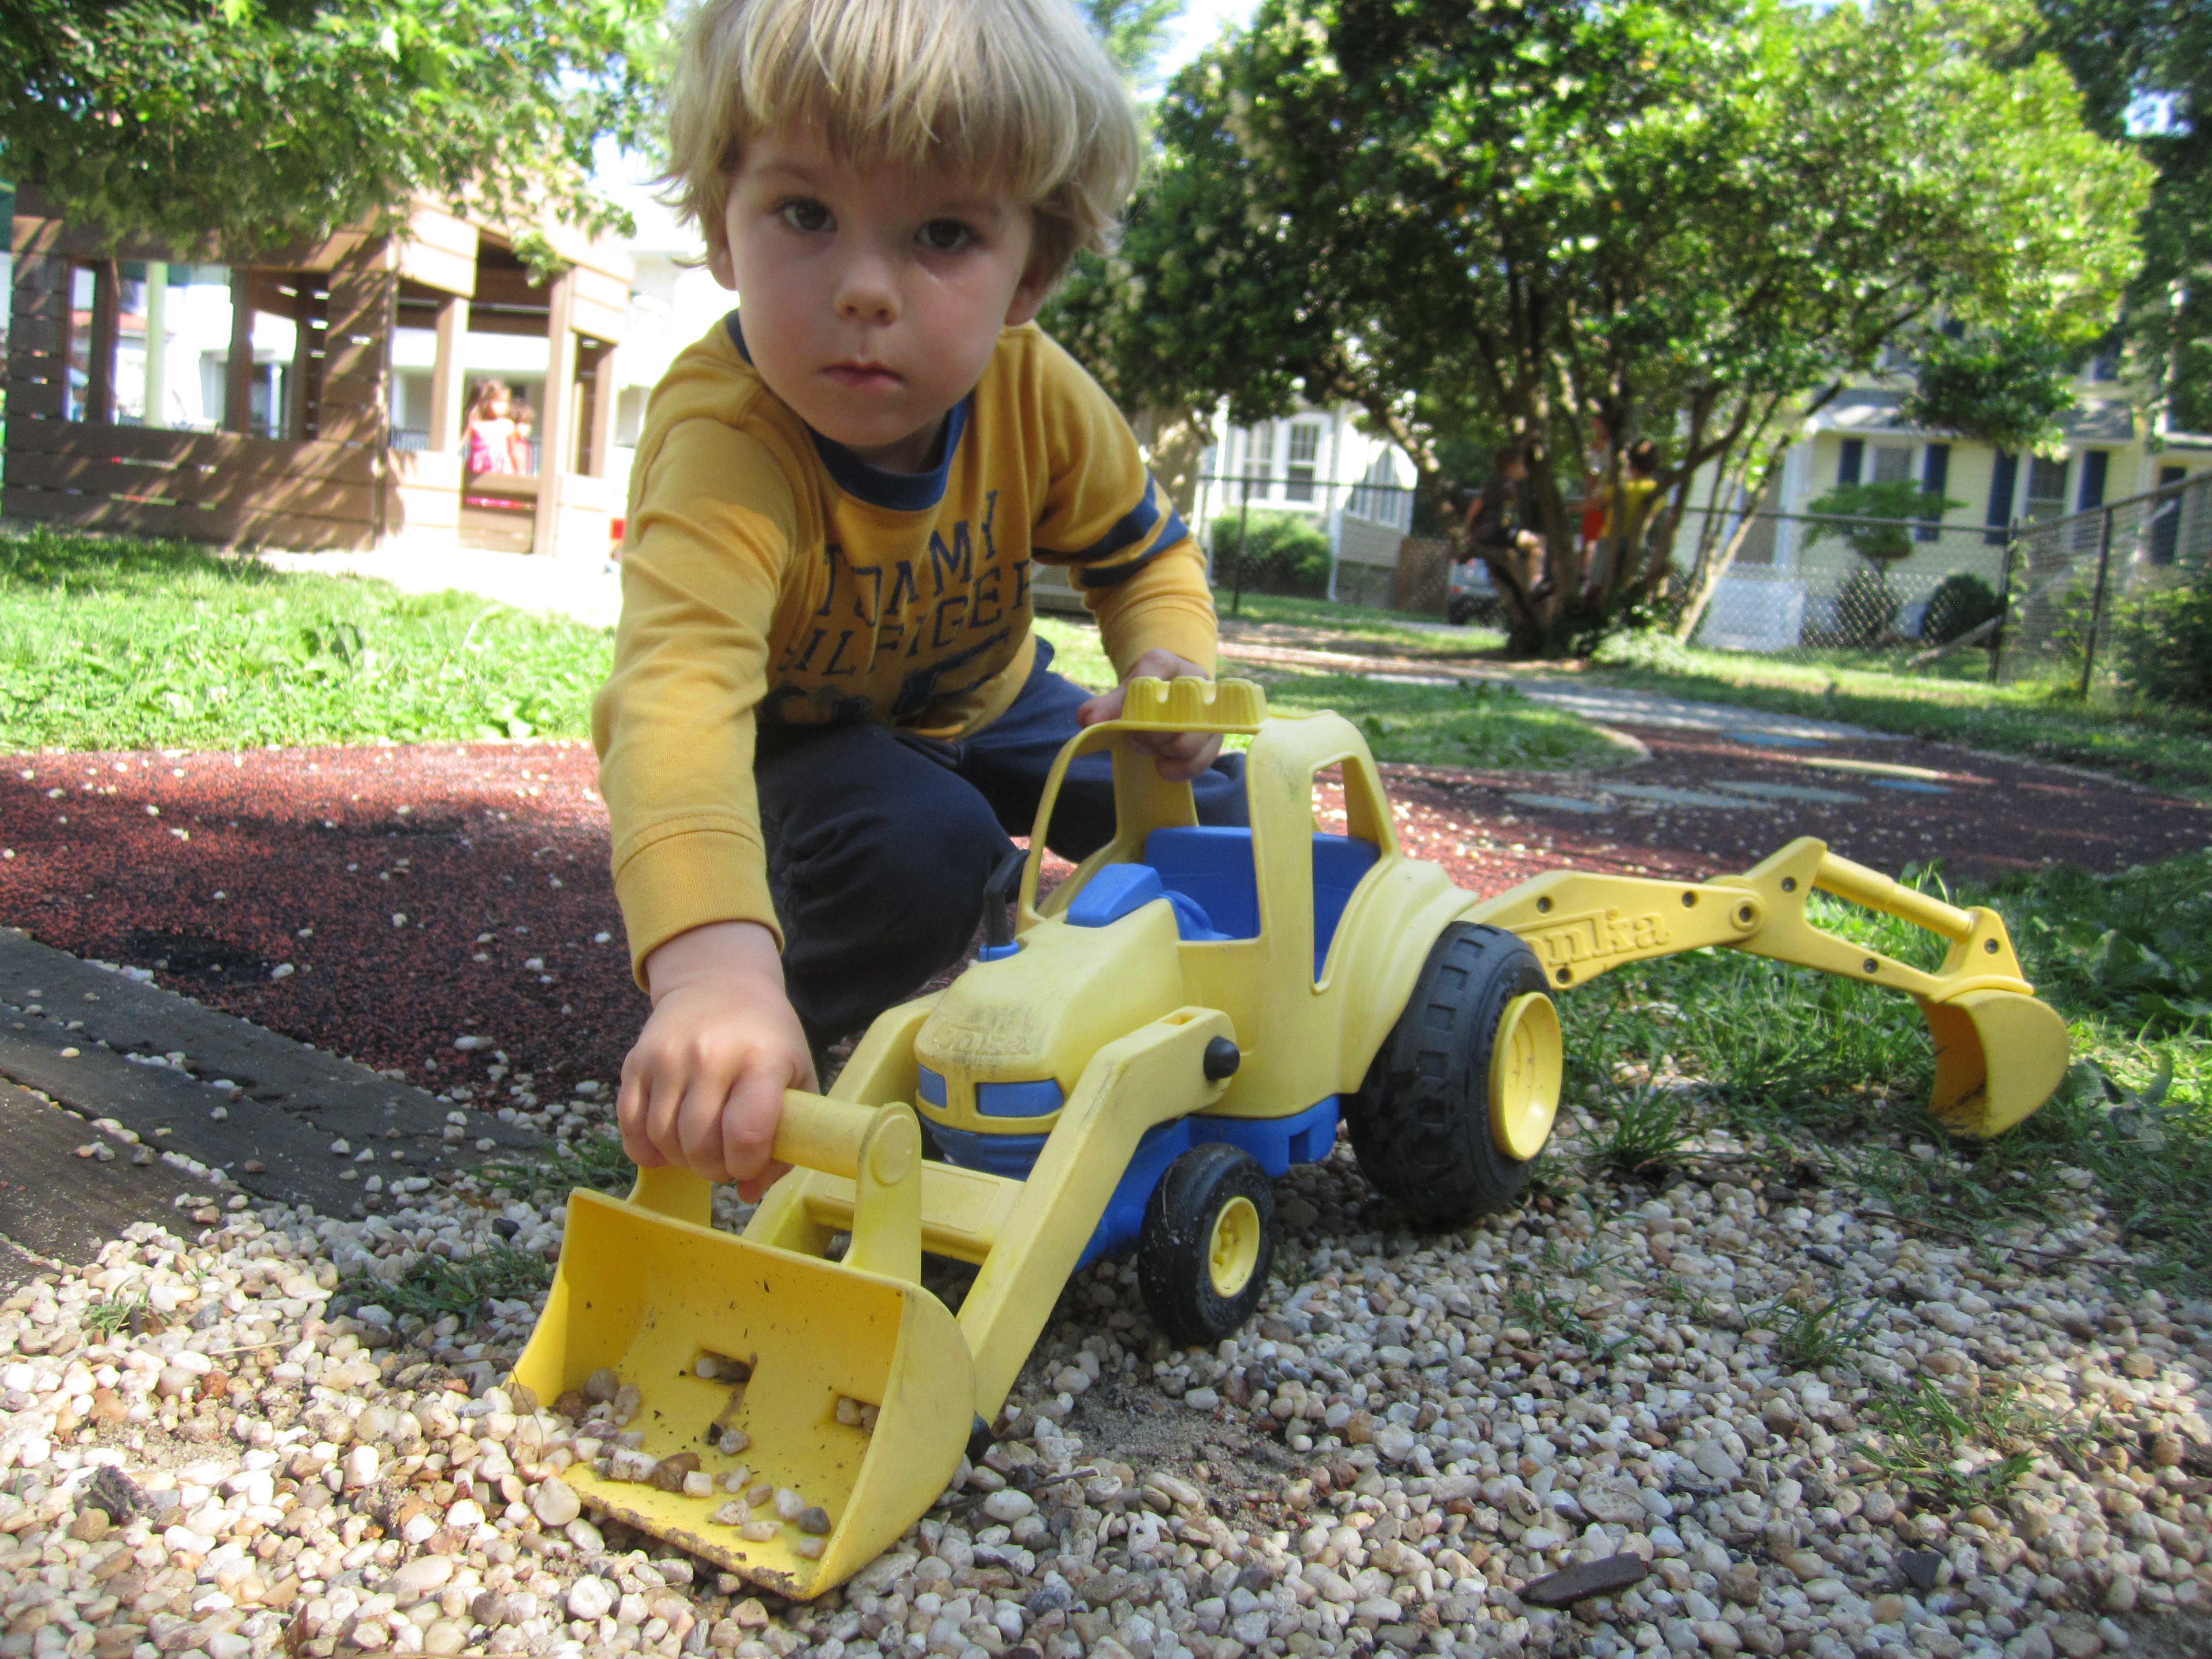 Pushing stones
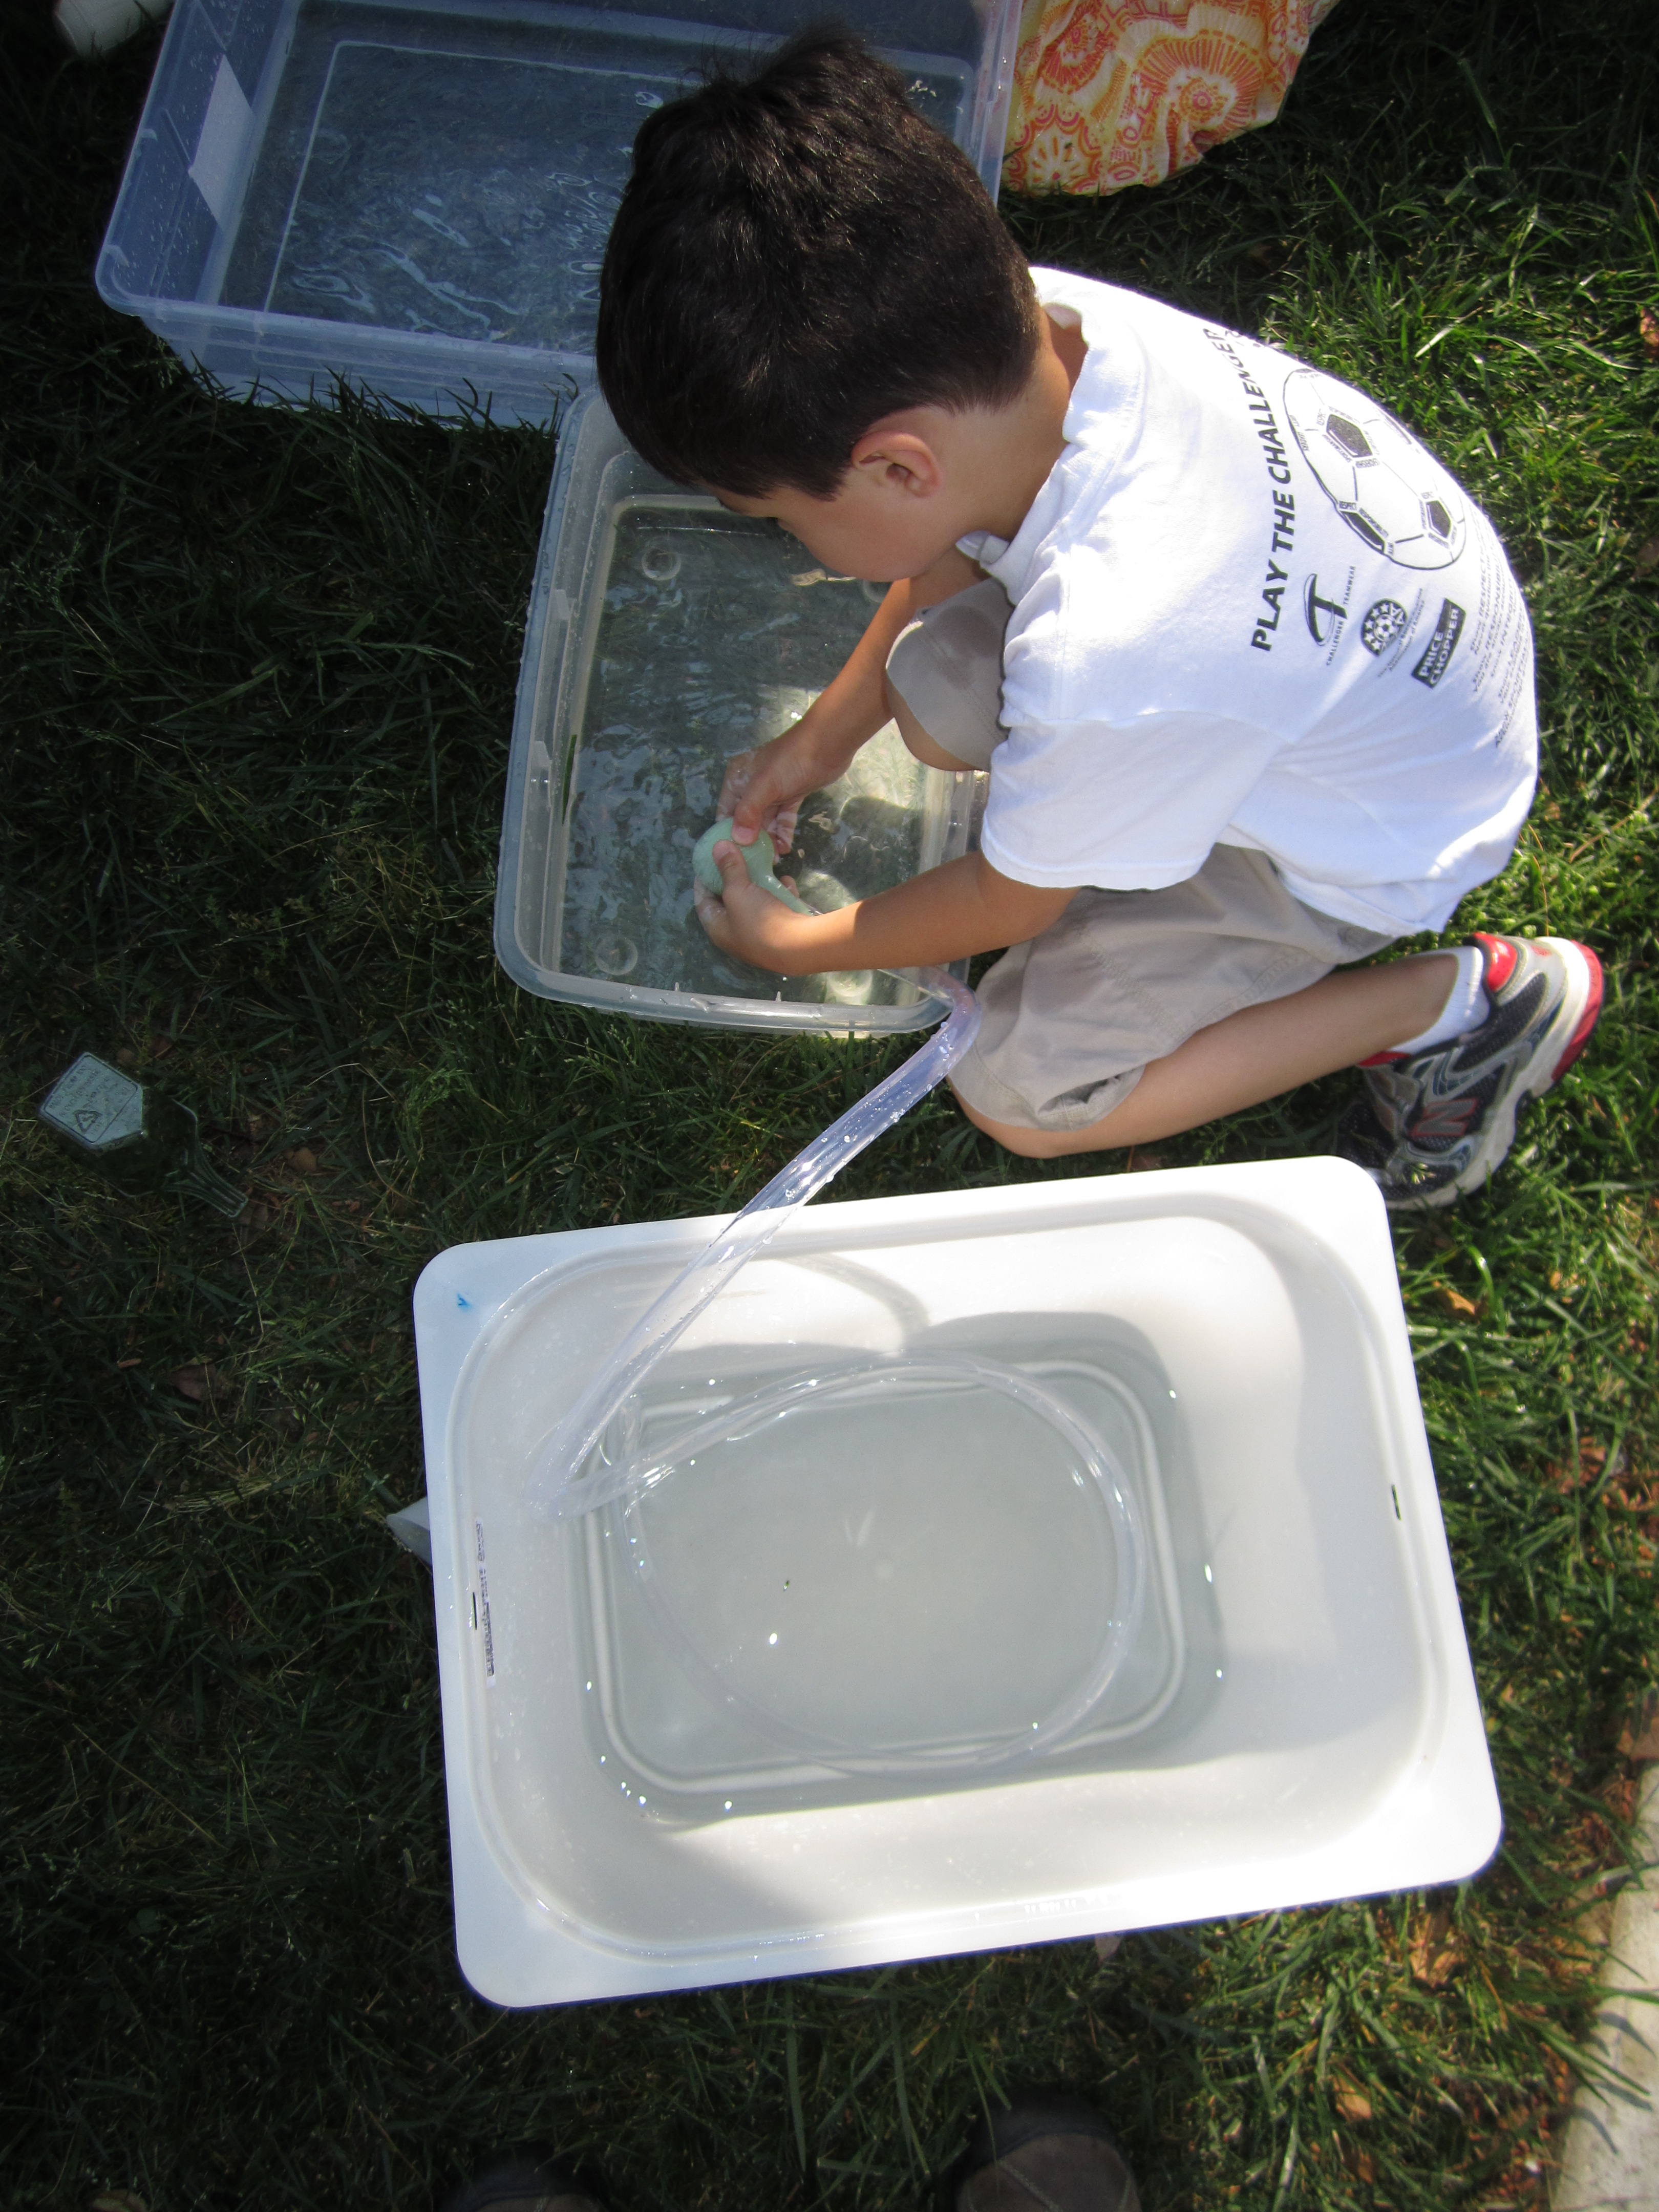
Moving water with tools
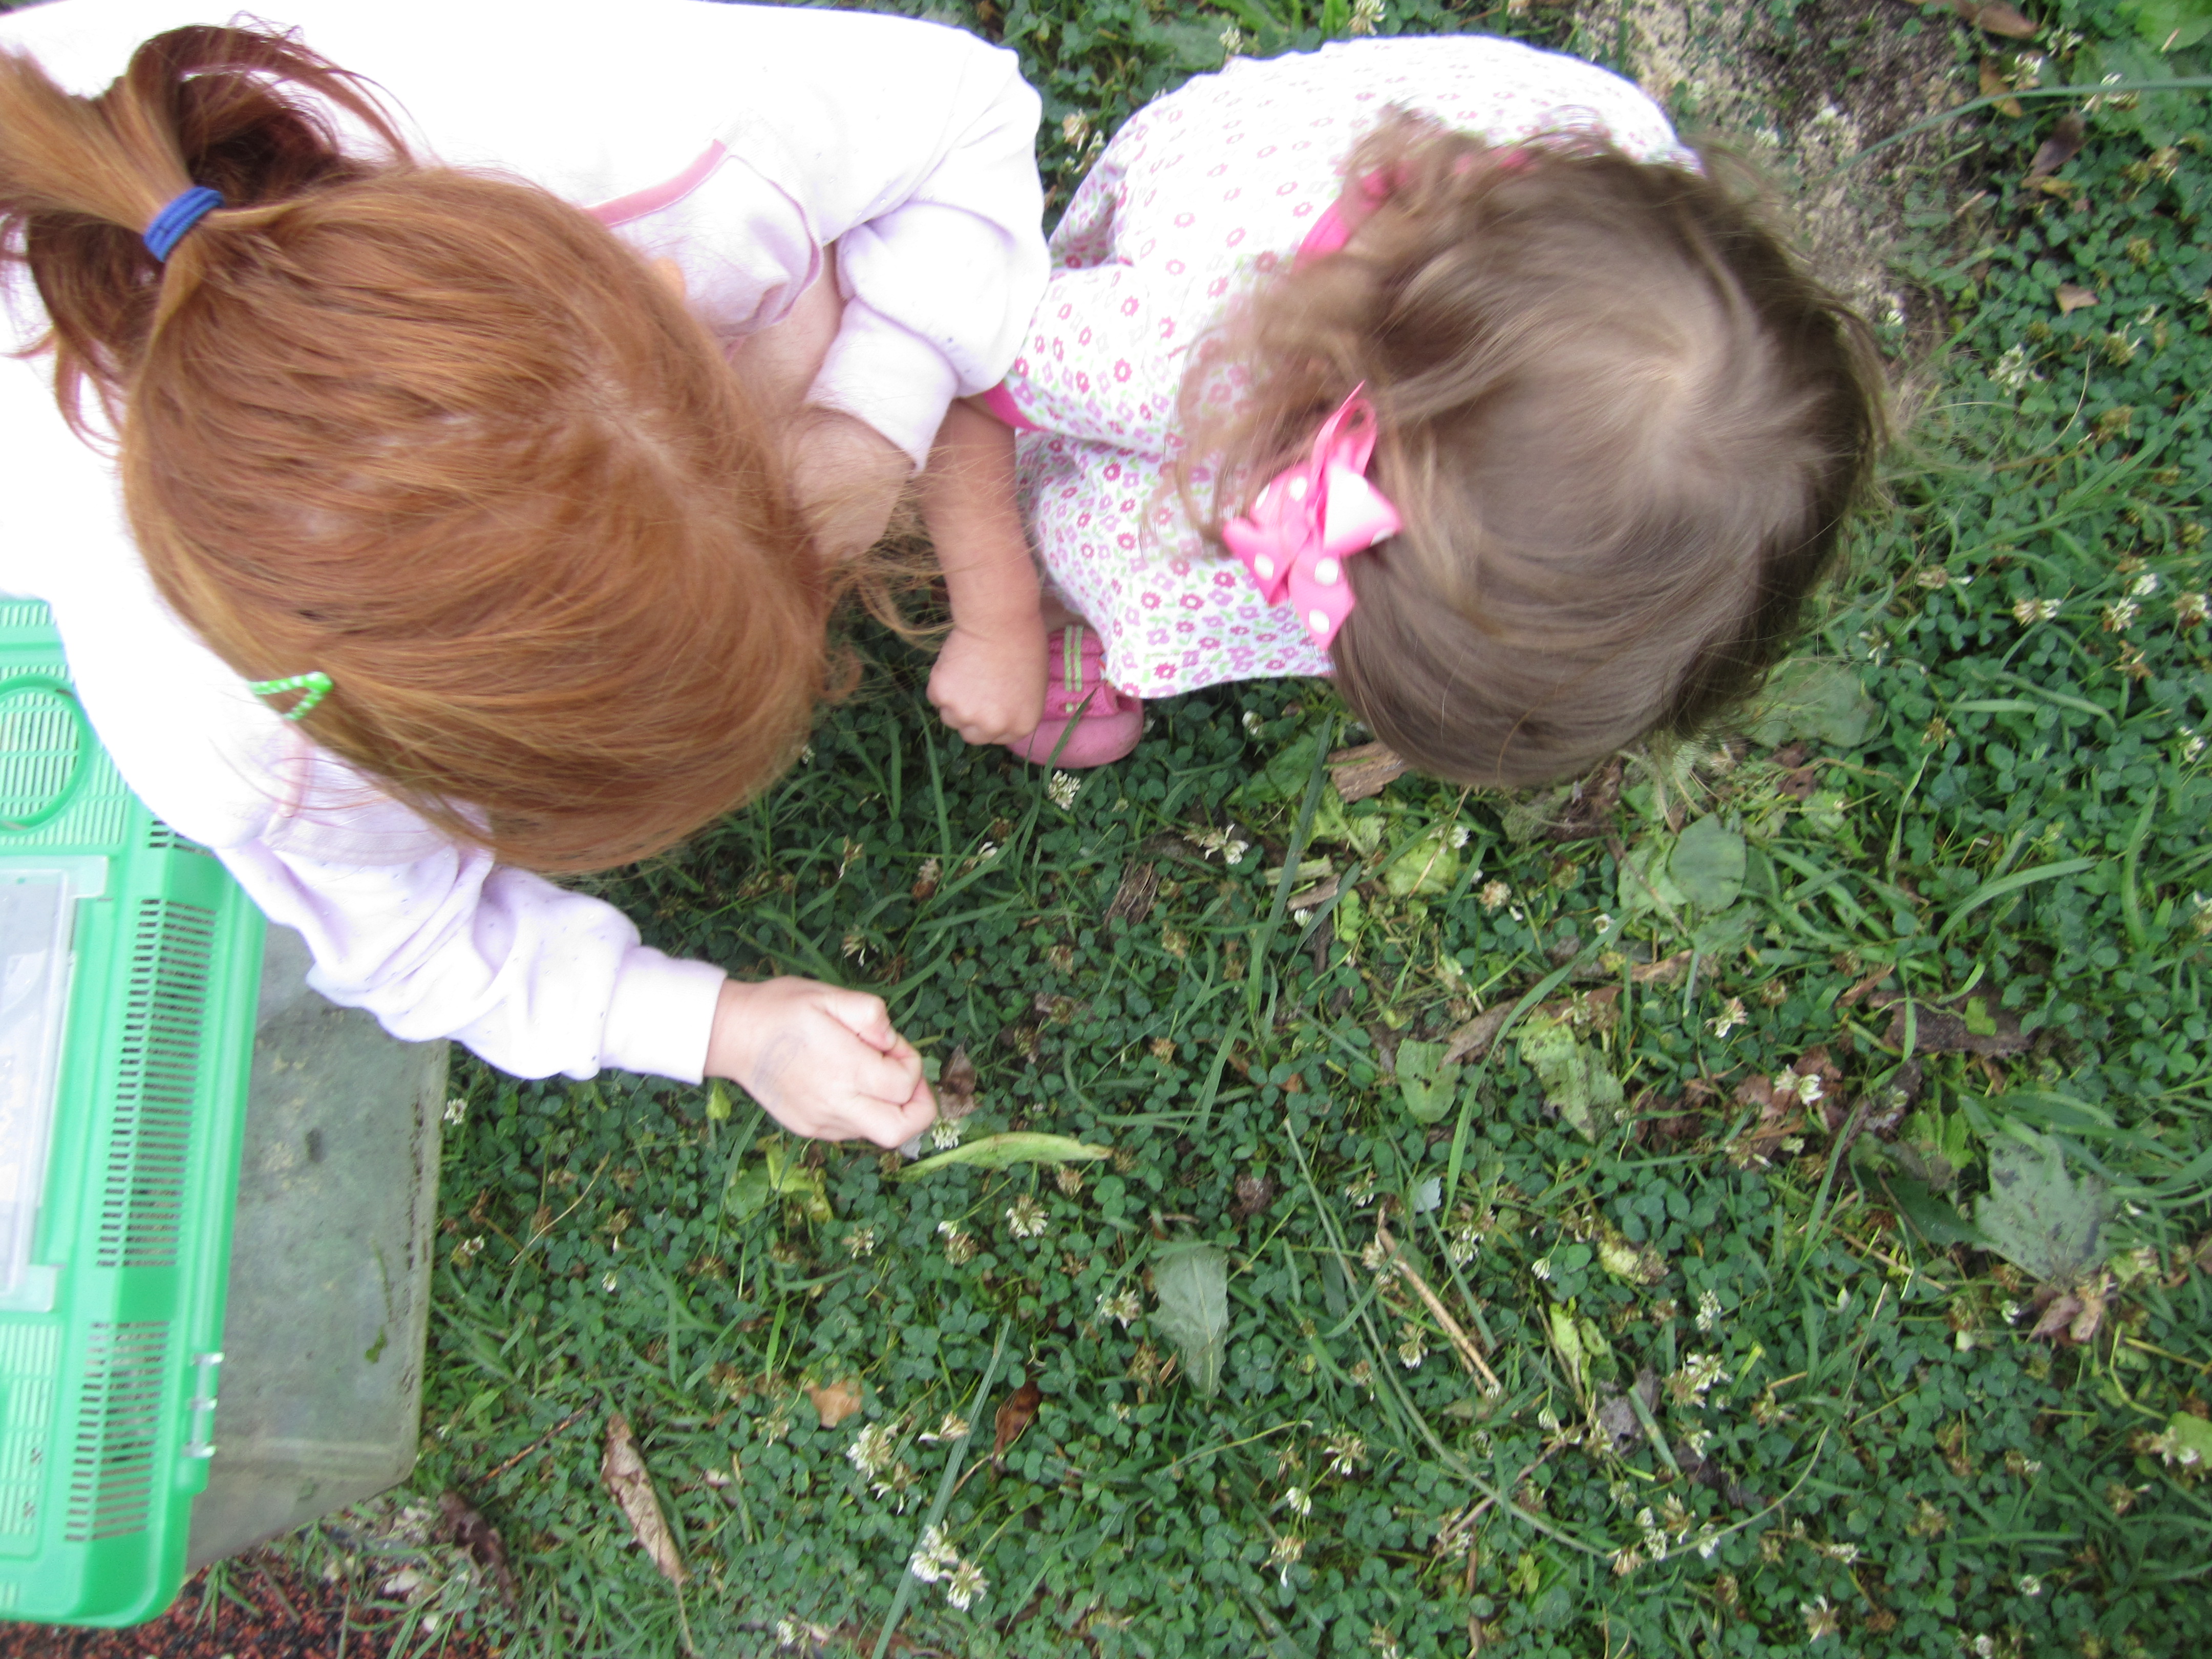 Finding a small animal
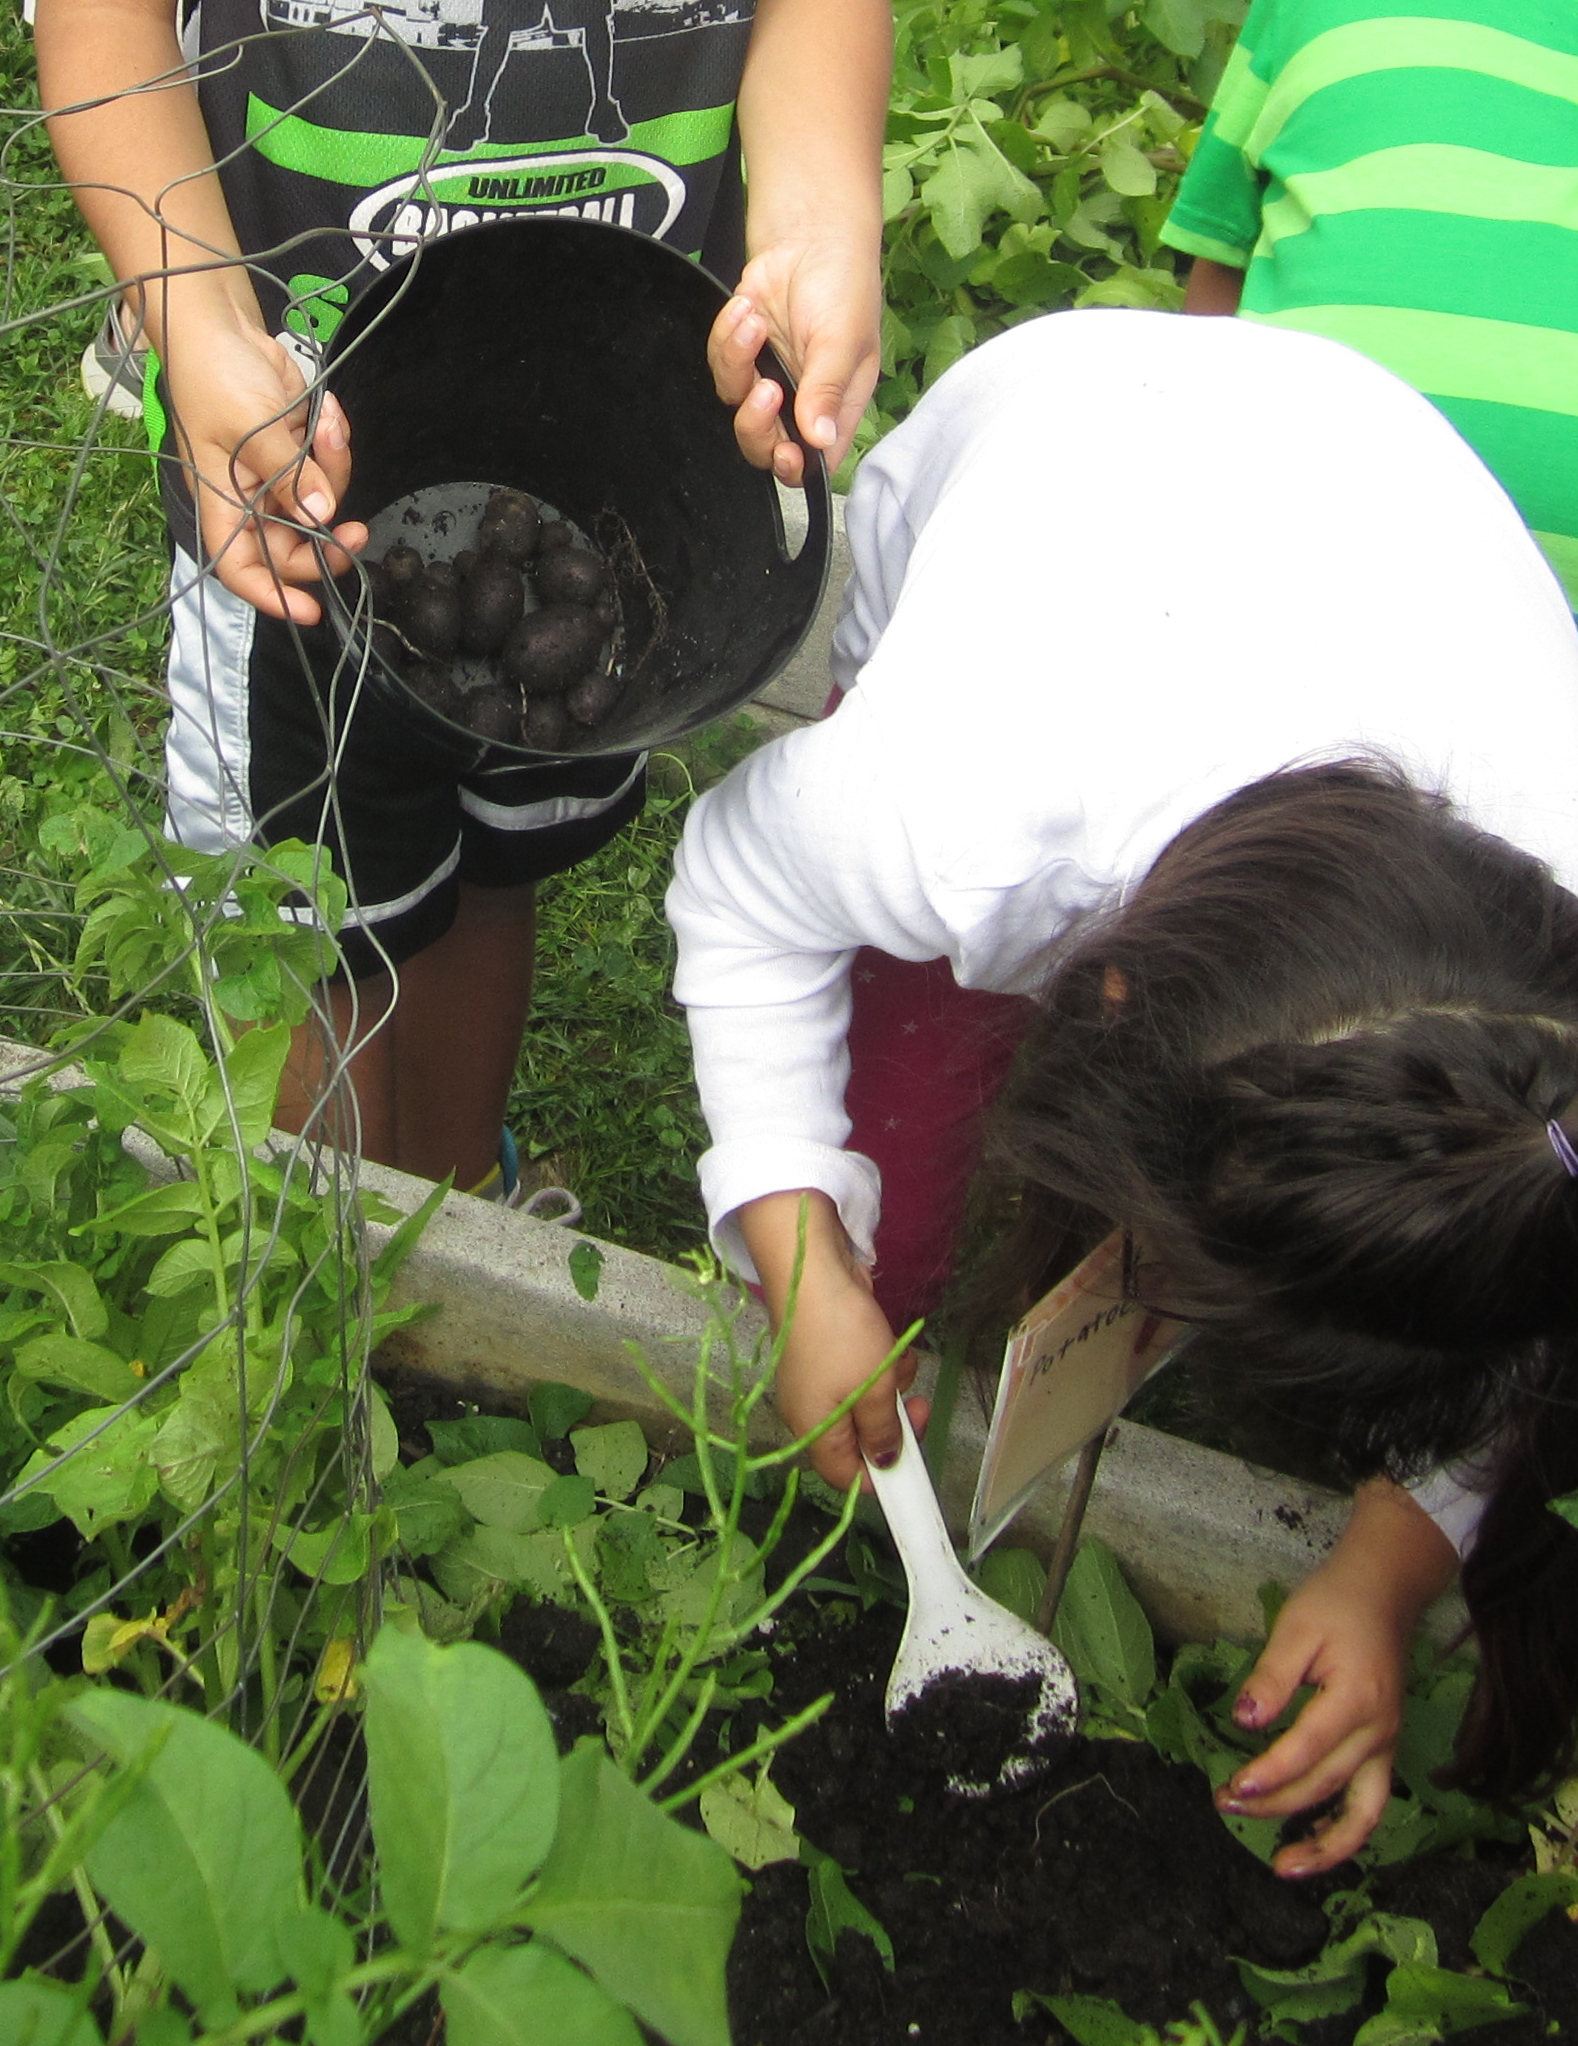 Harvesting an early crop
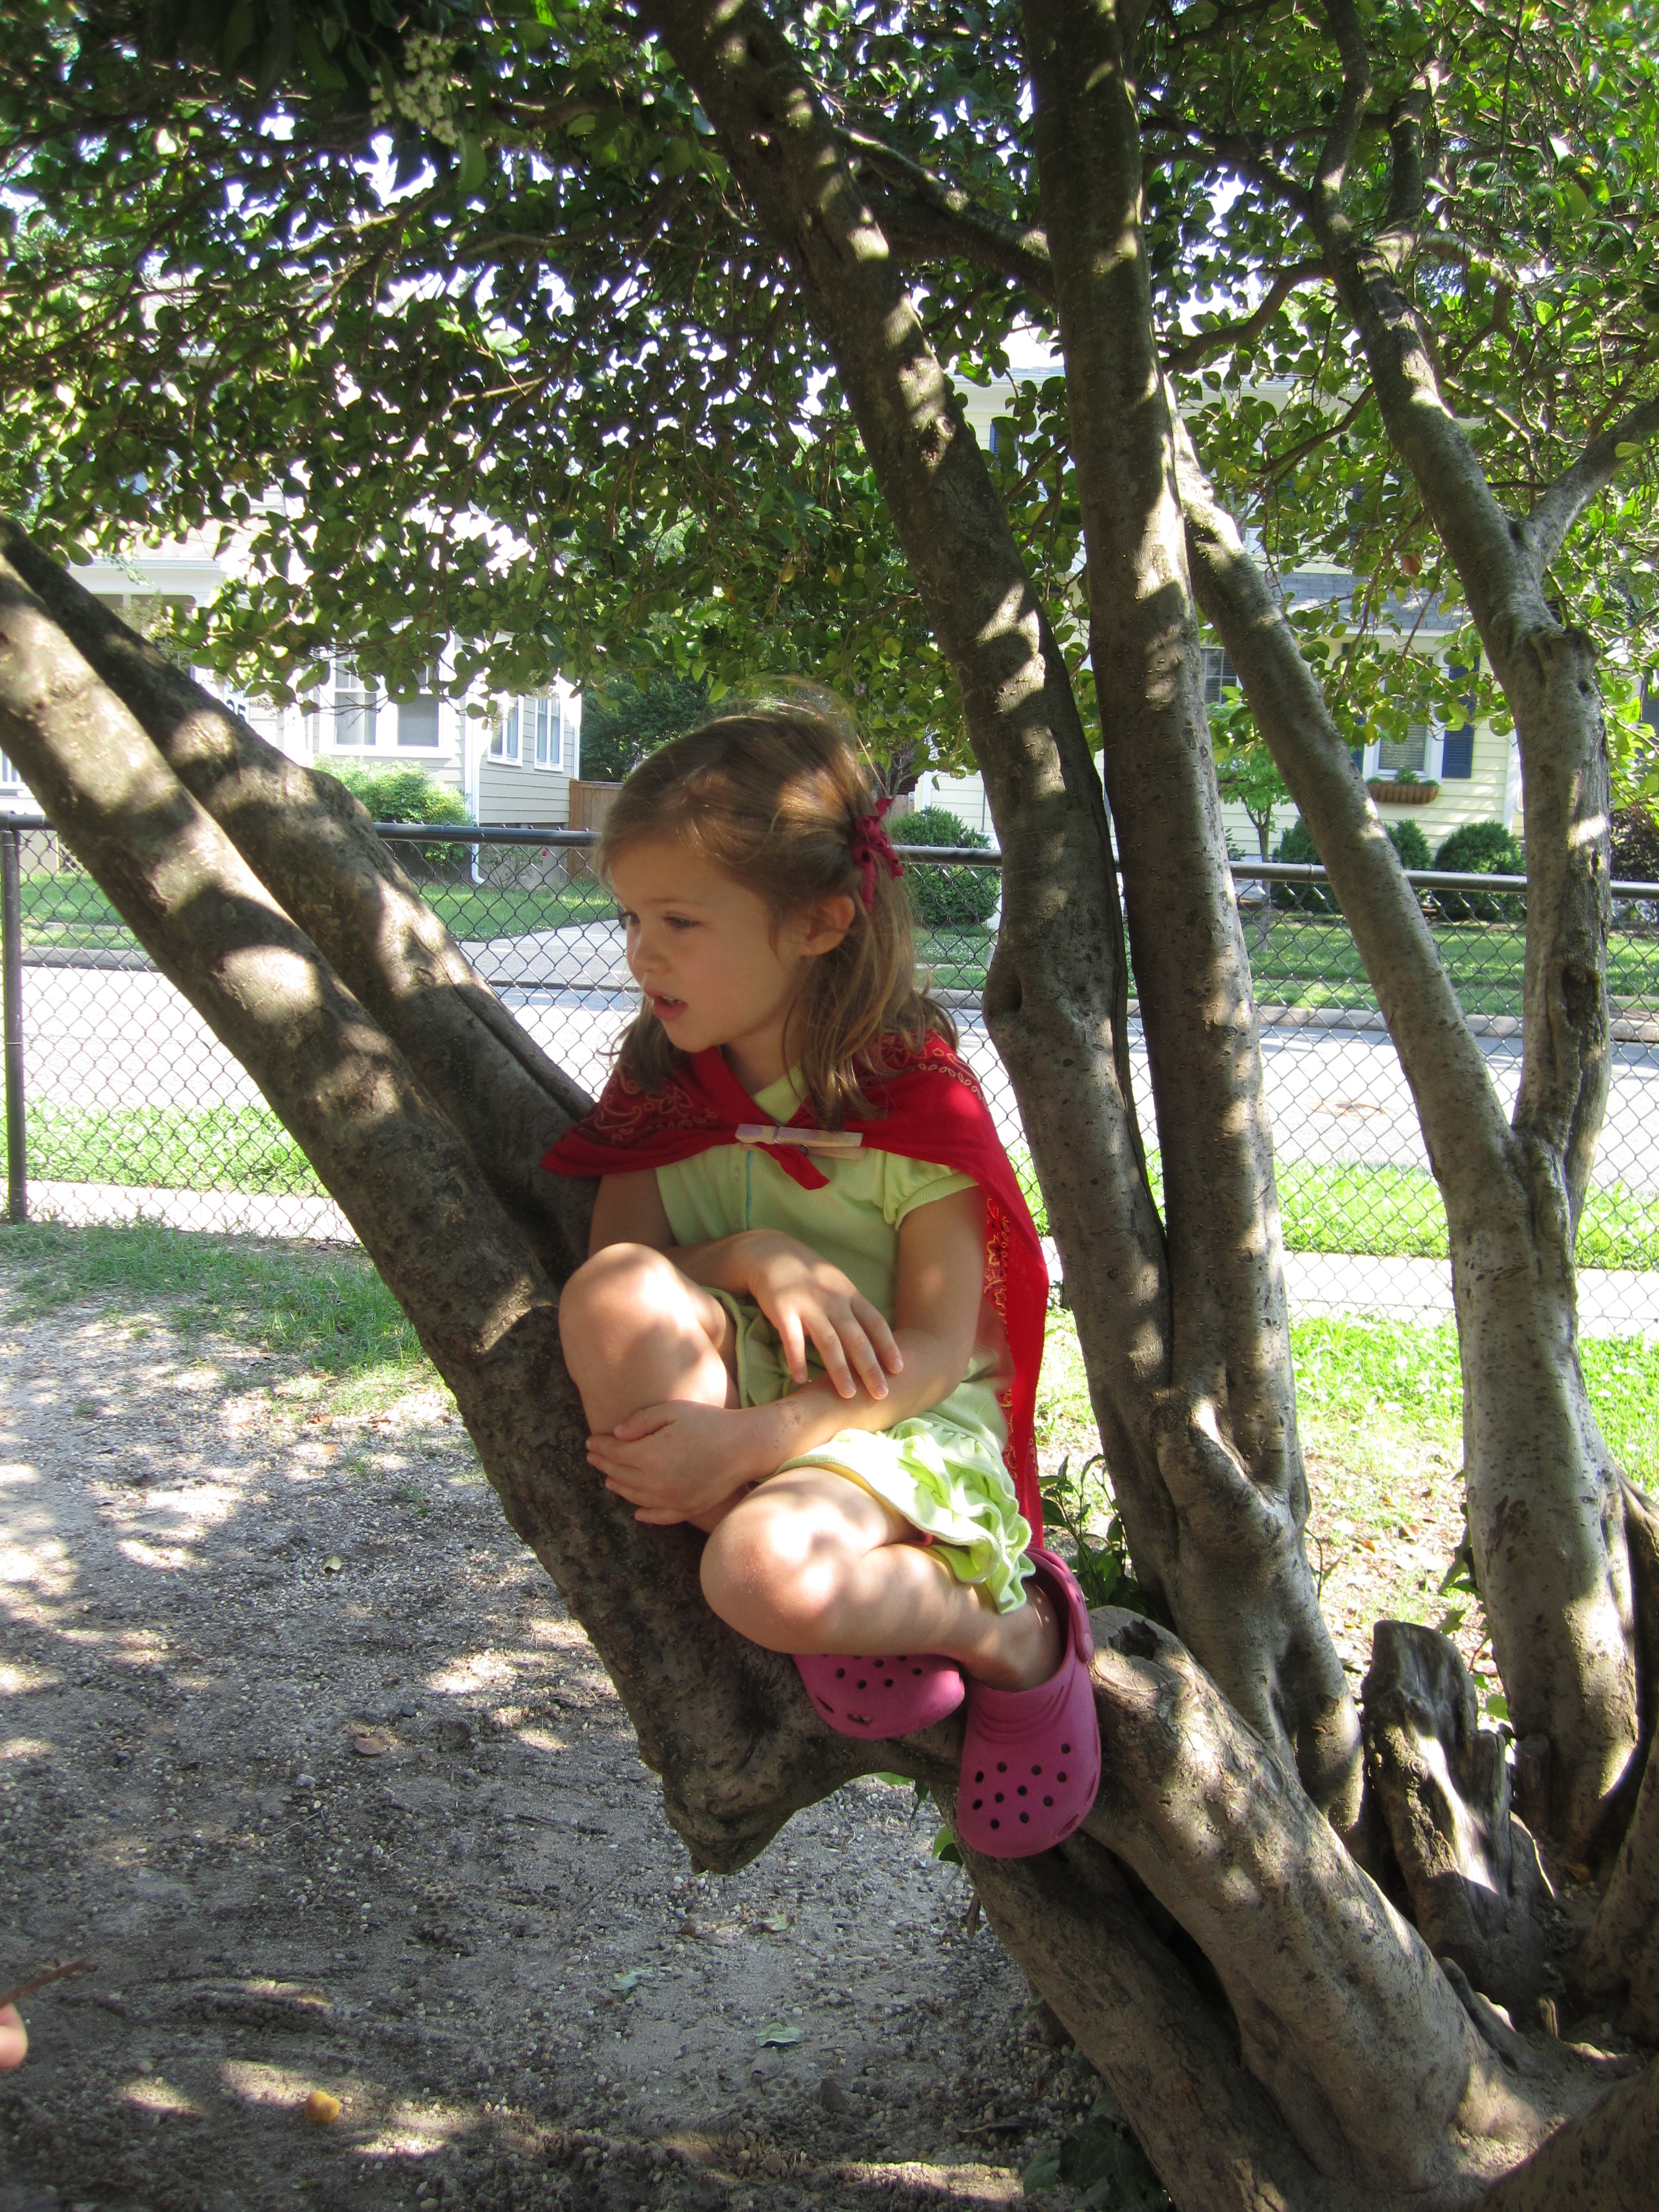 Climbing a tree
Wondering if it will rain, feeling the heat, and mixing to make mud!
June 29th, is International Mud Day, recognized by the Nature Action Collaborative for Children, and the National Association for the Education of Young Children, among many organizations.
Do you have plans to celebrate, and then investigate, the nature of mud?
Many children investigate the natural world more fully in summer, building their understanding of natural materials and phenomena through small moments and large.
Jumping into water
Legislative Update
Duncan Will Consider State Requests for Flexibility Around Teacher Evaluation and Testing
By Jodi Peterson
Posted on 2013-06-28
In this edition:
- Duncan Will Consider State Requests for Flexibility Around Teacher Evaluation and Testing
- Senator Seeks to Restore STEM Education Programs at Mission Agencies
Duncan Will Consider State Requests for Flexibility Around Teacher Evaluation and Testing
In light of recent claims from teachers and administrators that the transitions brought about by new accountability and assessments under common core standards were moving too quickly, last week in a letter to chief state school officers Education Secretary Arne Duncan announced he will consider requests from states around teacher and principal evaluations and testing.
Duncan wrote:
In recent months, we have heard from many of you and from thousands of teachers, principals, and education advocates. While there is a broad sense that recent far-reaching changes [raising standards and upgrading curricula, developing new assessments, rebuilding accountability systems, and adopting new systems of support and evaluation for teachers and principals] carry enormous promise for schools, children, and the future of our country, there is caution that too much change all at once could undermine our collective progress …. With that in mind, the Department is open to additional flexibility for states in two critical areas.
Senator Seeks to Restore STEM Education Programs at Mission Agencies
U.S. Senator Brian Schatz (D-HI) is asking other Senators to join him on a Senate Dear Colleague letter to the Senate Commerce, Justice, and Science Appropriations Subcommittee to restore STEM education programming to NOAA, NASA, and NSF. The Senate CJS Appropriations Subcommittee will decide funding for these programs in mid-July. As reported in earlier NSTA Legislative Updates, the President’s FY2014 budget proposes $3.1 billion to support federal STEM education programs, a 6.7 percent increase over FY2012–13 levels, but it consolidates or restructures 114 of 226 currently existing federal programs, 78 of which would be terminated. Funds totaling $176 million would be directed from NASA, NOAA, NIST to other agencies, (the Department of Education, the National Science Foundation, and the Smithsonian.) The budget proposes 13 new STEM initiatives, most of which would require separate Congressional authorization.
In this edition:
Space…The final frontier
By Mary Bigelow
Posted on 2013-06-28
 Today’s news features Voyager 1 as it appears to be reaching the edge of the solar system. It’s hard to believe that Voyager 1 and 2 were launched in 1977—36 years ago—and they’re still sending data (although it takes 17 hours for the data to reach the Earth). It has traveled farther than any other man-made object. What a technological accomplishment!
What else was happening in 1977? Gas in the US was 62 cents per gallon, Jimmy Carter was president, Elvis Presley died, the original Star Wars was the highest grossing movie, the first Apple II computers went on sale, hydrothermal vents were discovered near the Galapagos, the world population was 4.2 billion (compared to 7 billion today), US unemployment was 7.1%, cell phones began public testing, and the space shuttle Enterprise made its first test glide.
NASA’s Voyager website has complete information on the Voyager project—past, present, and future.
Other Voyager news:
New York Times
LA Times
National Geographic
BBC News
Image: NASA
Today’s news features Voyager 1 as it appears to be reaching the edge of the solar system. It’s hard to believe that Voyager 1 and 2 were launched in 1977—36 years ago—and they’re still sending data (although it takes 17 hours for the data to reach the Earth). It has traveled farther than any other man-made object.
What are your thoughts on The Condition of Education Report?
By Christine Royce
Posted on 2013-06-27
The National Center for Education Statistics Releases The Condition of Education 2013 Report
The National Center for Education Statistics (NCES) released its annual report, The Condition of Education. This year’s report presents 42 indicators of important developments and trends in U.S. education. These indicators focus on population characteristics, participation in education, elementary and secondary education, and postsecondary education.
Reports like these that crunch data and utilize statistics to provide a snapshot or several snapshots of education are popular and often fuel comparisons between the United States and other countries or individual districts/schools and other locations in the United States.
Often the information and findings presented are either the “positive” reports that include statements such as “enrollment in full-day preschool increased” and the simple statement associated with this such as “In 2011, almost two-thirds of three to five year olds were enrolled in preschool, and nearly 60 percent of these children were in full-day programs.” The other side of the coin is the “negative” or where we are falling short statements that are made such as the point about more schools being classified as high poverty schools with a finding that states “At the elementary and secondary level, about one in five public schools was considered high poverty in 2011, meaning that 75 percent or more of the students qualified for free or reduced-price lunch. This number was closer to 1 in 8 in 2000.”
So, the questions at hand for this discussion are “what do you think of this report?” Is it useful, what type of information will you personally use from it? How will it be interpreted from media in your local area? Will it be examined by your district?
The National Center for Education Statistics Releases The Condition of Education 2013 Report
The National Center for Education Statistics (NCES) released its annual report, The Condition of Education. This year’s report presents 42 indicators of important developments and trends in U.S. education.
What Could Be More Perfect? Even More Picture-Perfect Science Lessons!
By Carole Hayward
Posted on 2013-06-24
 For the lesson on Amazing Caterpillars in Emily Morgan and Karen Ansberry’s new Even More Picture-Perfect Science Lessons, K–5, Using Children’s Books to Guide Inquiry, over the course of several class periods, you get to read Houdini The Amazing Caterpillar, then to show illustrations from From Caterpillar to Butterfly, and engage in a hands-on activity with students to help them learn key facts about the butterfly life cycle. Imagine your elementary students being completely captivated by these picture books and learning some valuable science lessons as you read together.
For more than a decade, NSTA’s popular Picture-Perfect Science series has helped elementary science teachers deliver engaging, hands-on, inquiry-based science lessons. In this latest volume, the lessons are connected to the Framework for K–12 Science Education and the English Language Arts and Literacy Common Core State Standards. The lessons are written according to the BSCS 5E Instructional Model, so students can construct their own understanding of science concepts as they engage, explore, explain, elaborate, and evaluate. Guided questions are embedded throughout each lesson. Each lesson also includes an “Inquiry Place” box that suggests ideas for developing open inquiries.
Using Even More Picture-Perfect Science Lessons
The authors explain that “we wrote Even More Picture-Perfect Science Lessons to supplement, not replace, an existing science program. Although each lesson stands alone as a carefully planning learning cycle based on clearly defined science objectives, the lessons are intended to be integrated into a more complete unit of instruction in which concepts can be more fully developed.”
The format of picture books stimulate students on both the emotional and intellectual levels. The following list presents the various lessons included in this volume, the appropriate grade levels, and the picture books for each lesson.
| GRADE | PICTURE BOOKS |
| K-2 | Wemberly’s Ice Cream Star; Why Did My Ice Pop Melt? |
| 3-5 | Toy Boat; Captain Kidd’s Crew Experiments with Sinking and Floating |
| 3-5 | The Wind Blew; I Face the Wind |
| 3-5 | The Boy Who Harnessed the Wind; Wind Energy: Blown Away! |
| K-2 | What’s That Sound?; Sounds All Around |
| K-2 | Do You Know Which Ones Will Grow?; What’s Alive? |
| K-2 | Flip, Float, Fly: Seeds on the Move; Who Will Plant a Tree? |
| K-2 | Unbeatable Beaks; Beaks! |
| 3-5 | Just Ducks!; Ducks Don’t Get Wet |
| K-2 | Houdini the Amazing Caterpillar; From Caterpillar to Butterfly; The Very Hungry Caterpillar |
| 3-5 | Fossil; Fossils Tell of Long Ago |
| K-2 | The Three R’s: Reuse, Reduce, Recycle; Michael Recycle |
| 3-5 | Come On, Rain!; What Will the Weather Be? |
| 3-5 | Twilight Comes Twice; Next Time You See a Sunset |
| 3-5 | Now & Ben: The Modern Inventions of Benjamin Franklin; Build It: Invent New Structures and Contraptions |
Reading aloud is appropriate in all grade levels and for all subjects. The Common Core State Standards for English Language Arts and Literacy states that “children in the early grades—particularly kindergarten through grade 3—benefit from participating in rich, structured conversations with an adult in response to written texts that are read aloud.”
Sounds like the very best reasons to read some great picture books to your students!
The entire Picture-Perfect series is also available as a set.
For the lesson on Amazing Caterpillars in Emily Morgan and Karen Ansberry’s new Eve
Introducing guest blogger, Sarah Erdman, writing about toddlers
By Peggy Ashbrook
Posted on 2013-06-23
Watching children investigate the world inspires us to examine their methods, especially when we are raising them! Careful observation of infants and toddlers shows how we can support their developing ideas about the natural world. Guest blogger Sarah Erdman shares her approach to the explorations of her young son. Sarah Erdman is a museum professional, early childhood educator and Mom in Fairfax, Virginia. She provides programs for young children including Pop-Up Story Times and fieldtrips, programs for parents, educator workshops and consults for museums. She writes at her Cabinet of Curios blog.
Welcome Sarah!
 The most meticulous and inquisitive scientist I know is my one year old son. He is tireless in his investigations. Will the cup still hit the ground if I drop it again? What happens when I push the door closed? What about this time? And this time?
Anyone who is around toddlers knows exactly what I’m talking about. We accept the fact that we will constantly be retrieving objects from strange places and patching up bumps and bruises. What we often forget is that this is the groundwork of scientific discovery. Each time they toss the cup from the highchair, they are going through a scientific process in miniature.
For me, “teaching science to a toddler” is not as clear cut a concept as it is with, say, kindergartners. When children get older it feels more natural to use scientific language and engage them in exploration, but what about for babies? Sure, you can gather them for a “science lesson” and some will be really interested, but what often works better is staying alert for the small science moments that happen throughout the day.
The most important thing to remember at this age is that you are setting the groundwork for how they will feel about science later on. They are looking at you for meaning and for how they should feel about what they are experiencing. If you react to the natural world with fear and disgust then they will pick up that vibe. However, if you can delight in both the beautiful and the “icky” then it will give them permission to enjoy it also. This doesn’t mean you have to delve into topics that you find personally frightening, just give them leeway to explore them on their own or with others and it will show them it is ok.
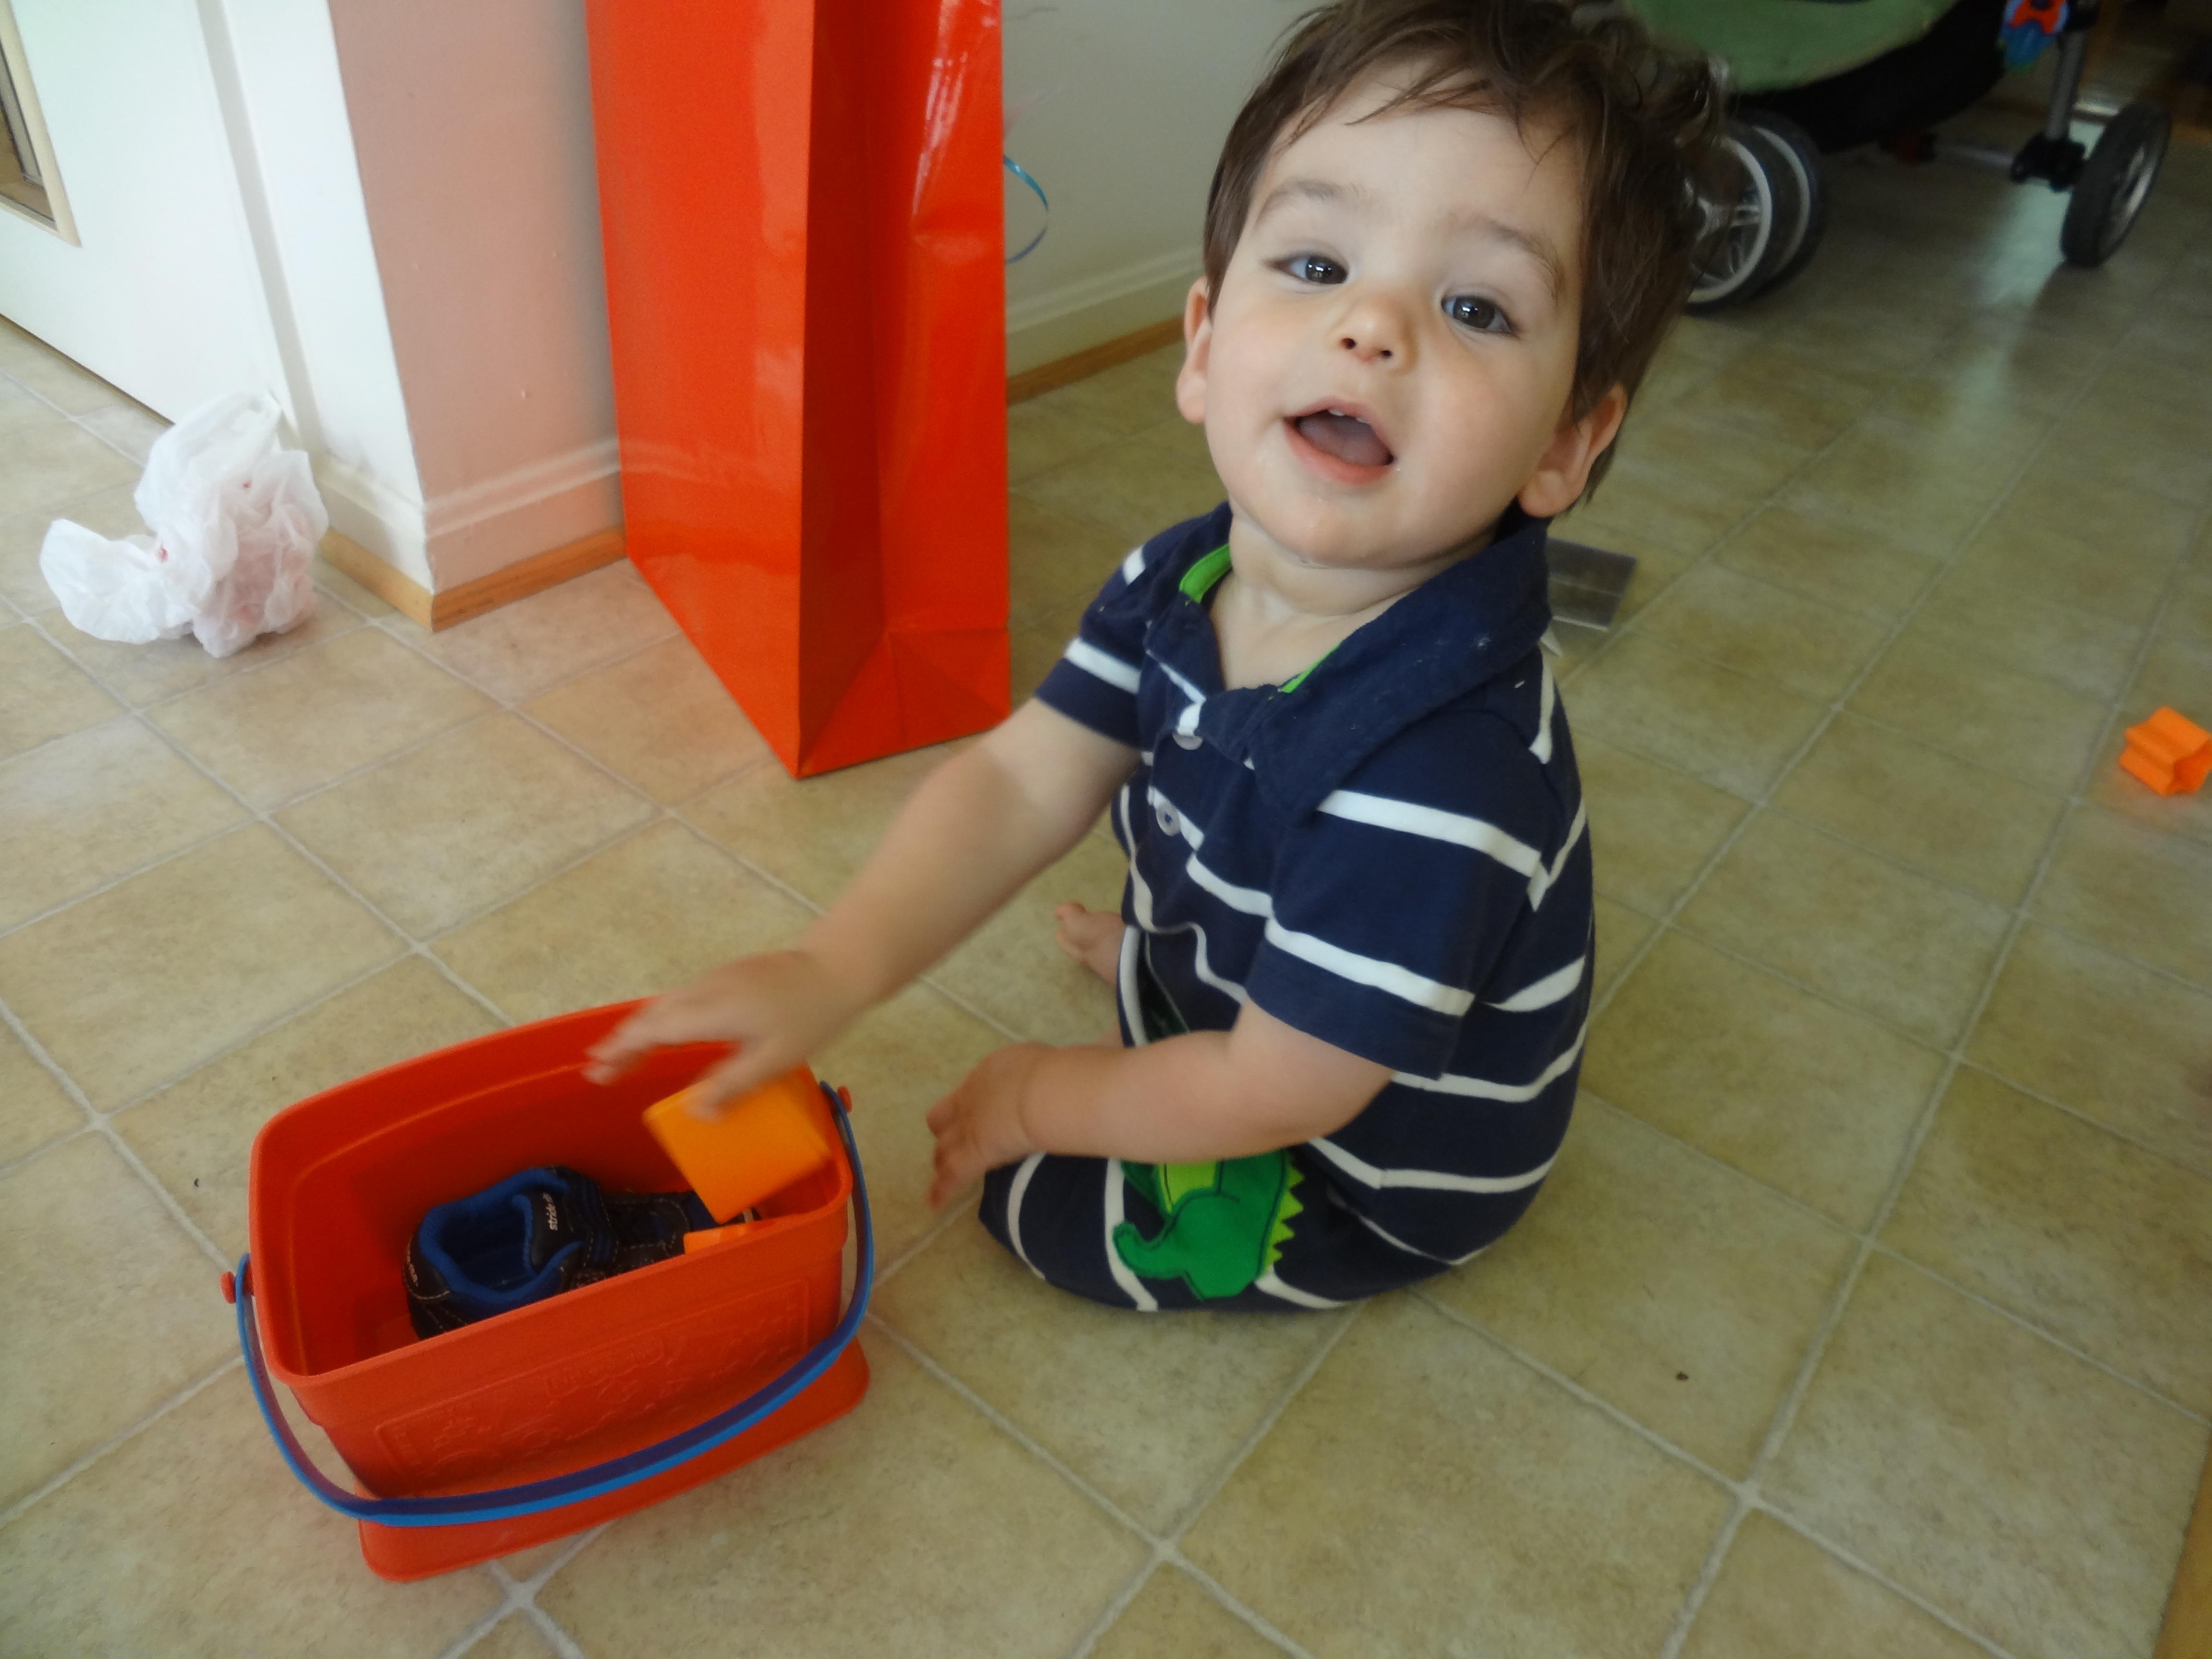
As they are exploring, tell them what they are seeing. They may not understand the words perfectly yet but every time you use them the meaning solidifies. I admit it, I sometimes feel a little silly as I exclaim again and again ‘The ball is OUT of the box! The ball is IN the box!” (to be honest the repetition is tiring). Then, I see the delight on his face as we play. I realize that he is now understanding the difference between “out” and “in” and I take heart that what I’m doing does matter.
 Finally, and this can be the trickiest one, within reason let them try out their ideas. Don’t worry, I’m not saying you have to let them throw the cup off the highchair repeatedly! But, stop for a second before you automatically say “no” and ask yourself, “Is this really a problem?” Sure, it may make a mess, and it may not seem like “learning” as you know it, but it is letting them build their understanding of the world. Every time they take the top off the box and see that the ball is still inside, they “get it” that much more.
“Teaching science” to infants and toddlers does not mean a drastic change in your day-to-day plans or a lot of new equipment and specialized knowledge. My little scientist is already eager and willing to explore. All I have to do is support his natural curiosity…and clean up whatever mess he leaves behind.
Sarah Erdman
Watching children investigate the world inspires us to examine their methods, especially when we are raising them! Careful observation of infants and toddlers shows how we can support their developing ideas about the natural world. Guest blogger Sarah Erdman shares her approach to the explorations of her young son. Sarah Erdman is a museum professional, early childhood educator and Mom in Fairfax, Virginia. She provides programs for young children including Pop-Up Story Times and fieldtrips, programs for parents, educator workshops and consults for museums.
Examples of science assessments
By Mary Bigelow
Posted on 2013-06-19
Last year I gave a pretest to my classes, consisting mostly of vocabulary. I’ve decided to change the assessment and focus more on determining how students think. Rather than trying to reinvent the wheel, I’m looking for existing tests or test items I could use or adapt.
—Melissa, Wilmington, Delaware
I’ve been involved in several math-science partnership projects, and here are a few published resources the faculty used to determine what students understand and what misconceptions they may bring to class:
- MOSART stands for Misconceptions–Oriented Standards–Based Assessment Resources for Teachers. The project is sponsored by a National Science Foundation grant to the Harvard-Smithsonian Center for Astrophysics. (Note: Check out the other resources on their site for professional development and content background.) The assessments are different from many multiple choice tests in that the questions are not designed to test students’ recall of facts and vocabulary. The questions are based on the National Science Education Standards (NSES) standards and allow students to think their way through the items.
The four assessments at the high school level address concepts in chemistry, physics, Earth science, and astronomy. (Currently, there are no biology tests for high school.) At the middle and elementary levels, the topics include physical science, life science, earth science, and astronomy/space science.
But you can’t just download the MOSART tests. Users must register (free) and complete a brief orientation. It’s online and it took me about an hour (mostly because I wanted to see all of the video segments!). This tutorial is one of the best things about this project. It guides you through a discussion of what misconceptions are, how these tests let you probe your students thinking, how/when to use the assessments (e.g., at the beginning of a course, or as a pre/post test), what you can learn from looking at the distractors students selected, and how to interpret the results. This orientation could be a good use of professional development time.
After the tutorial, you then have access to all of the tests, which are emailed to you in PDF format, along with guidelines for interpreting the results. The downloads include two versions of the test (with the same questions but in a different order) and a key that goes far beyond a traditional answer key to help you to analyze the results in terms of student (mis)understandings.
- The Science Assessment tool is published by the American Association for the Advancement of Science (AAAS). Middle/high school level topics address concepts in life science, physical science, earth science, and the nature of science. For each topic, there are several key ideas and sub-ideas (some schools may refer to these as big ideas and essential concepts) you can match to your science curriculum. Each sub-idea has a collection of multiple-choice items to add to your test bank, and there’s a section for each item with an analysis of how students in the pilot group answered it. You must register (free) to use the site, and you can save the items you select and print them as PDF or HTML files (or copy and paste into a word processor, clicker program, or test generator).
- PALS (Performance Assessment Links in Science) has dozens of performance assessment tasks, organized by standard (NSES), grade level, and topic. Each assessment includes a detailed description, a student handout with places to record data and observations, a scoring rubric, and the results of any formal validation. There are examples of actual student work at each of the rubric levels. This could definitely be a supplement to traditional paper-and-pencil tests.
I’d also recommend the Uncovering Student Ideas in Science series of books from NSTA. These formative assessment probes can help you uncover student preconceptions and can be used as a pre-assessment or warm-up for a unit.
Last year I gave a pretest to my classes, consisting mostly of vocabulary. I’ve decided to change the assessment and focus more on determining how students think. Rather than trying to reinvent the wheel, I’m looking for existing tests or test items I could use or adapt.
—Melissa, Wilmington, Delaware